Building the Custom Home of Your Dreams:
Breaking Ground And Building
A Look at the Construction Process for Building Custom Homes from Start to Finish
You’ve decided you want to build the custom home of your dreams.
You’ve found designers, architects, and contractors you’re excited to work with.
Your designs and plans are ready to go.
Now it’s time to break ground and start the build!
This is an incredibly exciting time in any home construction project. It’s where the rubber meets the road, so to speak, and you can actually see your vision come to life before your eyes.
As exciting a time as it is, it can still feel a bit overwhelming. It’s your home, after all, and you want to be involved in every stage of construction.
Chances are, you’re going to have a lot of questions for your contractors, and they’re going to have a lot of questions for you.
That’s why we’ve put together this helpful guide that you can use to track the construction of your home, and to give you an idea of what to expect during the entire process.
Let’s take a look!
Site Prep and Foundations
Unless you’ve got a lot prepped and ready to go, it’ll need to be cleared of debris before you can properly break ground. This means hauling away stones and uprooting vegetation that’ll get in the way.
You’ll also need to level the site, which is typically accomplished with a backhoe and bulldozer.
Once that’s done, though, your construction team can break ground.
While the team here at Sunter Homes will always handle every aspect of construction on your behalf, we definitely understand when our clients want to be the ones to break ground.

It’s a special moment, after all—this is the very first step you take towards building your dream home, after all.
If you want to take the first swing with a pickaxe or be the first person to use a shovel while digging out foundations, let your contractors know. You don’t need to do the whole job, but it’s a fun moment that’s worth a photo, at least!
Once the crew levels the site, they put up wooden forms to create a template for the foundation of your home, dig holes and trenches, and install footings. They’ll also dig a well or space for a septic tank if needed.
If your home has a basement, this is the point at which it’ll be dug out.
From there, it’s time to form and pour concrete footings before forming and pouring the walls of the foundation.
For slab-on-grade, the crew digs, forms, and pours footings, levelling the area between them. They’ll fit this area with utility runs and pour the slab.
After concrete’s been poured, it needs to cure. Construction typically stops at this point while the concrete sets and dries.
After the concrete is cured, your contractors install a waterproof membrane for the foundation walls in addition to drains, sewer and water taps, and other necessary plumbing features.
They will also backfill excavated dirt in the space around the foundation wall.
At this point, an inspector will check out the site to ensure your foundation is up to code. Once they sign off, your contractors remove the concrete forms and move onto the framing.
Building Framing
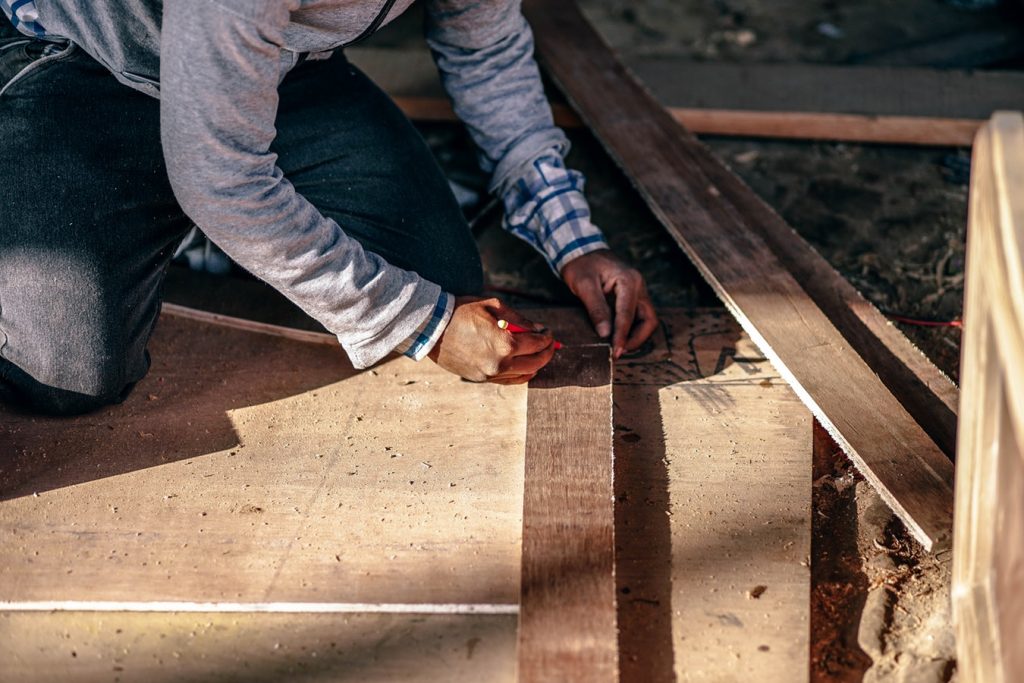
Think of building framing as the skeleton of your home. This is what gives it shape and supports the building as a whole.
Your home builders start by creating rough framing, including floor systems, walls, and roofing.
Plywood and oriented strand board (OSB) sheathing are commonly used for exterior walls and roofing.
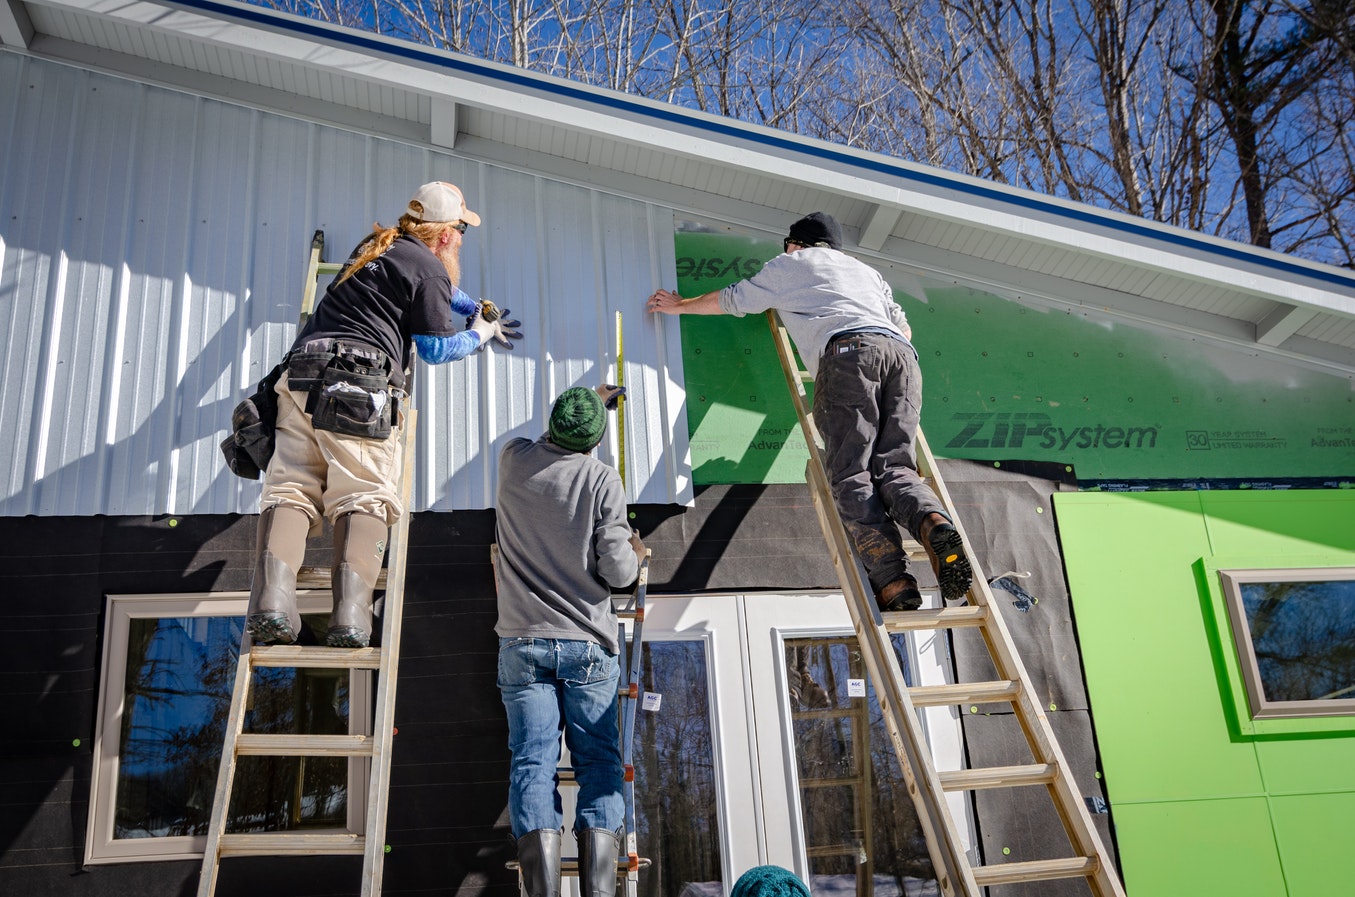
The sheathing gets covered by a protective barrier—what’s known as a house wrap. This keeps water out of the home during the construction process while letting water vapour escape.
Windows and exterior doors often go in at this stage. Once the framing and shell are complete, you’ll get another visit from an inspector.
Next, it’s time to install plumbing, electrical wiring, and other features.
Plumbing, Electrical, And HVAC Installation
Usually, while the roofing and siding are being installed, electricians and plumbers will start running wires and pipes through the ceiling, floors, and interior walls.
Plumbers will install sewer lines and water supply lines. This is also when tubs and showers are brought into the home.
If you’re worried about having to hire more contractors, rest assured: the contractors you’re working with will bring in the experts they need for certain tasks if they can’t do them on their own.
Here at Sunter Homes, we’re able to handle every aspect of custom home construction, and we love finding elegant solutions to wiring and plumbing layouts.
Typically, this is the point at which HVAC (heating, ventilation, and air conditioning) contractors will install vents and ductwork for your home’s new HVAC system. They will install vent pipes through the roof, and they will also install a furnace.
Once the roof is installed, the house is considered “dried in” and safe for electricians to install receptacles for outlets, lights, and switches, and run wires from the breaker panel to these receptacles.
One of the best benefits of a custom home is that you can get it wired up in a way that works for your needs.

This means custom wiring solutions for home theatres, home offices, telephones, and even power outlet placement.
Assuming it’s up to code, there’s no reason you can’t customize these aspects to your heart’s content.
Once it’s all done, it’s time for—you guessed it—another inspection before moving onto insulation and drywalling.
Insulation, Drywalling, And Interior Textures
Home builders will install insulation in the floors above unfinished basements, walls, and ceilings, including the attic.
There are several types of insulation used in new custom homes, some with better thermal performance than others.
Before you break ground, your contractors will discuss your options with you and how they’ll impact your budget.
Once the insulation is installed, home contractors will hang the drywall and complete the interior drywall textures if applicable. They will also apply a primer coat of paint once the drywall is hung and taped.
During this time, interior doors, baseboards, door casings, window sills, mouldings, stair balusters, and other decorative trim can be installed.
The walls will get a finishing coat of paint and/or wallpaper at this point.
Finishing the Exterior
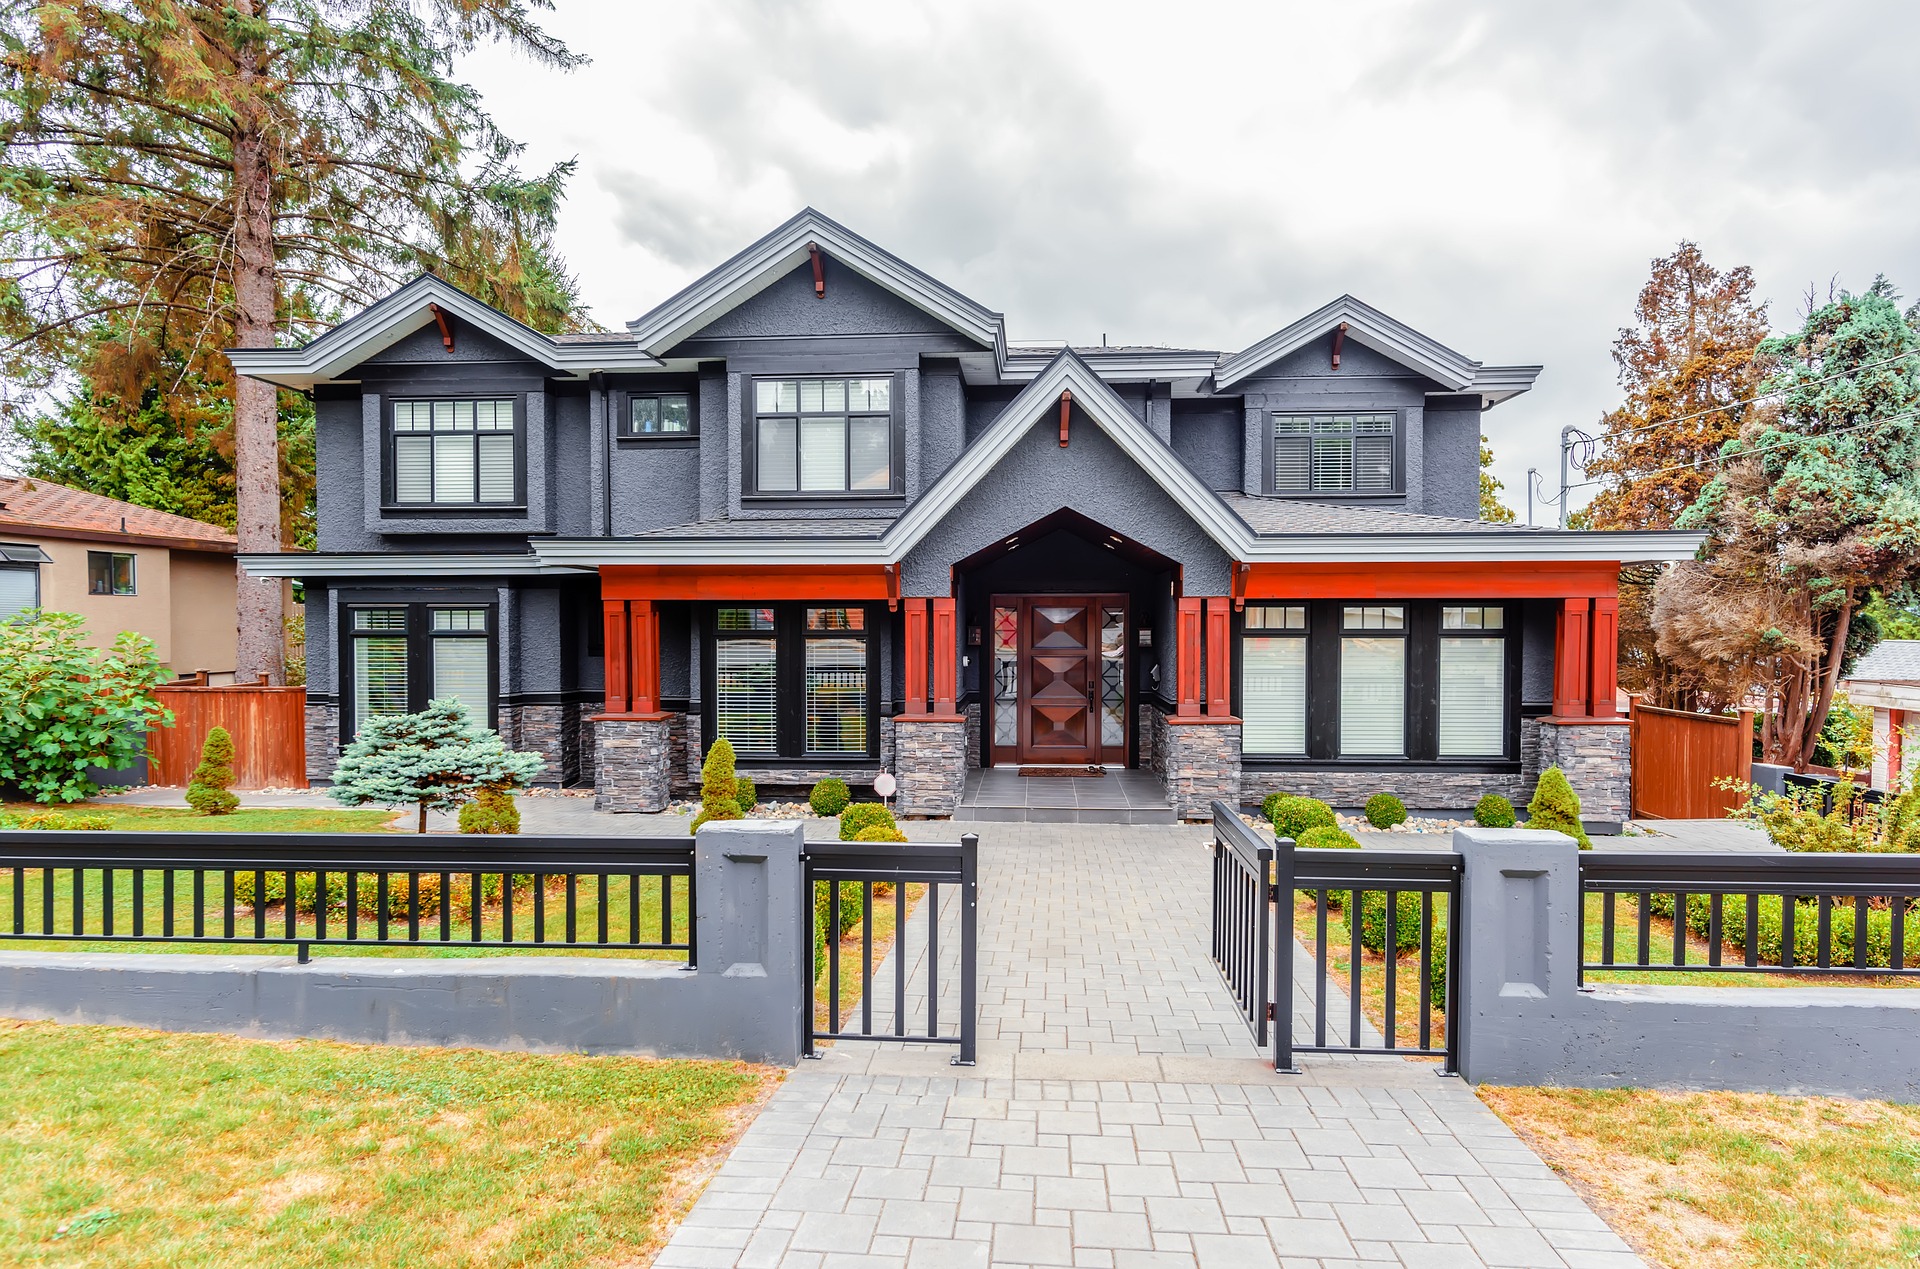
Your contractors will install exterior finishes such as stucco, brick, stone, and siding.
Exterior driveways, walkways, and patios are installed during this stage. Exterior finish grading is completed to provide proper drainage away from the home.
Next, it’s time for interior details!

Flooring, Counters, And More
This is one of the biggest parts of building a custom home, though not necessarily due to the amount of time it takes.
Interior design details are, after all, features that homeowners put a lot of time an energy into.
At this stage of construction, your contractors will install hard-surface floorings, such as ceramic tile, wood, or vinyl.
It’s also common for countertops to be placed at this phase, and, by extension, sinks and faucets.
Next, it’s time to complete the electrical panel with light fixtures, outlets, and switches. HVAC technicians will install the HVAC equipment, and the registers will be completed.
During the final stage of home construction:
- Mirrors, shower doors, and carpeting will be installed.
- Exterior landscaping and/or cleanup will finish, including planting trees, shrubs, and resodding grass.
- You’ll get one more building code inspection.
- Finally, it’s time for a final walk-through with your contractors.
During your walk-through, your builders and contractors will take you through the home and offer detailed explanations of all features, systems, warranties, and offer maintenance tips.
This is an opportunity to ask questions, inspect your home for yourself, and address any minor issues you may notice, as unlikely as they may be.
And, lo and behold, you have your brand-new custom home!
Getting Through Home Construction
As with any construction project, it’s totally normal to feel stressed during custom home construction.
You may be trying to coordinate moving out of your current home on top of staying involved with progress with your home, not to mention a day job and family commitments.
You need to know you can trust the contractors and experts you’re working with, which is why we recommend soliciting recommendations from family and friends before making a final decision on your contractors.
Your contractors, designer, and architect should all understand your vision and work towards it in tandem.
At Sunter Homes, we make your vision for your home our number one priority and are dedicated to making custom home construction more than a project; we want it to be a memorable, enjoyable experience for you and your family.
We know how important consistent communication and reliable planning are. We’re ready to help you with everything from suggestions and recommendations to timelines and budget insights.
Building a custom home can be overwhelming. But with the right team, open communication, and realistic expectations, the home construction process can be more exciting than stressful.
Navigating the Building Permit Process
Before You Build or Renovate, Get Your Permits!
You’ve got a vision for your home in mind, you’re working with an architect or designer to refine it even further, and you’ve picked reliable, trustworthy, and experienced contractors to work with.
Have you got the necessary permits?
Building a new house or renovating your existing home to bring it to dream status requires a lot of planning and attention to detail.
One of those details is ensuring you’ve got all the necessary permits in place so you can continue with your project unobstructed.
If you’ve never dealt with building permits before, don’t worry: you’re not alone.
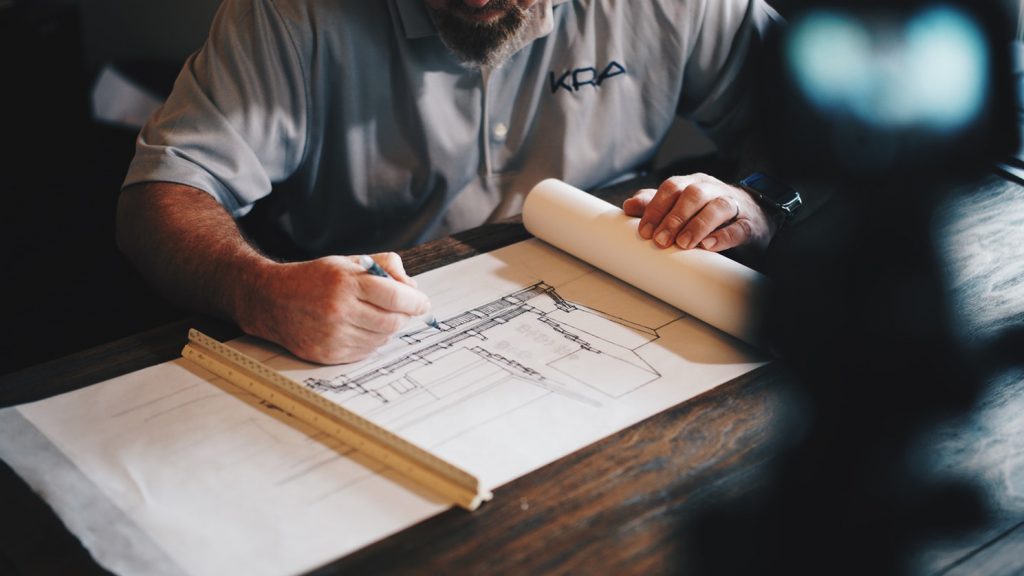
Plenty of homeowners looking to build an addition or undertake a significant project (even custom home construction) have no experience with the permit process when they start planning their project.
Reliable contractors and construction professionals can handle this task on your behalf, acting as your advocate and representative to successfully navigate the permit process.
If you’re not sure what you need or where to start, we’ve got you covered.
What Are Building Permits and Why Are They Necessary?
Building permits are official approvals of your proposed construction or remodelling project, issued by your municipality.
Permits give municipalities a way to ensure project plans comply with land use, zoning, and construction standards and laws.
Building permits are necessary to ensure a home is built to code, ensuring it meets standards for safety, energy consumption, occupation, and much much more.
Basically, the permit process is a way to let your community know what you’re doing and to ensure it’s all above board.
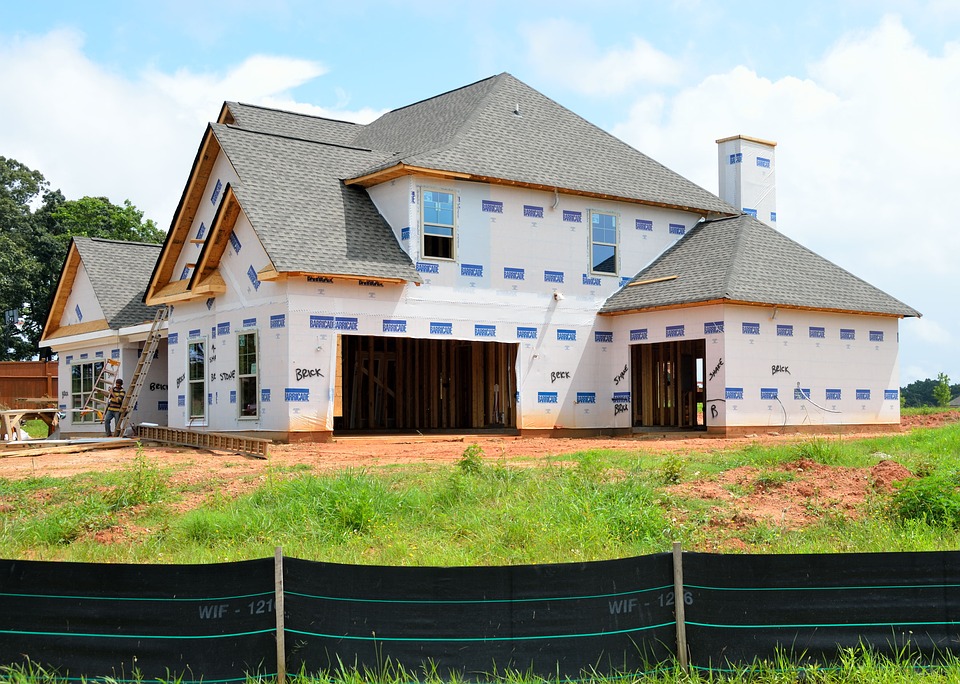
What Happens if You Don’t Have a Permit?
If you don’t obtain the necessary permits prior to breaking ground, you’re setting yourself up for massive headaches.
Not only can your municipality issue a stop-work order, but you’re also at risk of having any progress deconstructed or torn down.
For example, if you just had your kitchen remodelled but an inspector finds you didn’t have the necessary permits in place, they could issue an order to tear out all or part of the work done.
You may also be on the hook for additional fines.
What’s more, since the work wasn’t inspected by a professional and objective third party, there is no way to know for sure the work is safe and was done in accordance with building codes.
It's far better to be proactive and get the necessary permits before any ground is broken or walls are knocked down. If you don’t apply for building permits, you are likely inviting trouble.
Do You Need a Permit for Your Renovation Project?
Even if you’re not building from scratch, you’ll still need to secure permits for renovation projects.
While it’s a lot of work to fill out the applications, pay the fees, and deal with all the rest of the bureaucracy that comes with construction, you’ll thank yourself in the long run.
Here are a few of the benefits of applying for permits:
- Ensures you don’t receive shoddy work in exchange for your hard-earned money.
- Work will be done in accordance with Ontario’s building codes and municipal bylaws.
- Offers protection for both people and property because certain standards must be followed.
While many contractors will help you navigate the permit process, it’s still important to note that the ultimate responsibility falls on you, the homeowner.
How Do You Get a Building Permit in Ontario?
Homeowners in Ontario must follow specific steps prior to initiating any construction work.
Your permit application must have the following:
- Completed application form. Double check to make sure everything is filled out appropriately.
- Any applicable building permit fees. Building permit fees must be submitted at the time the application is filed.
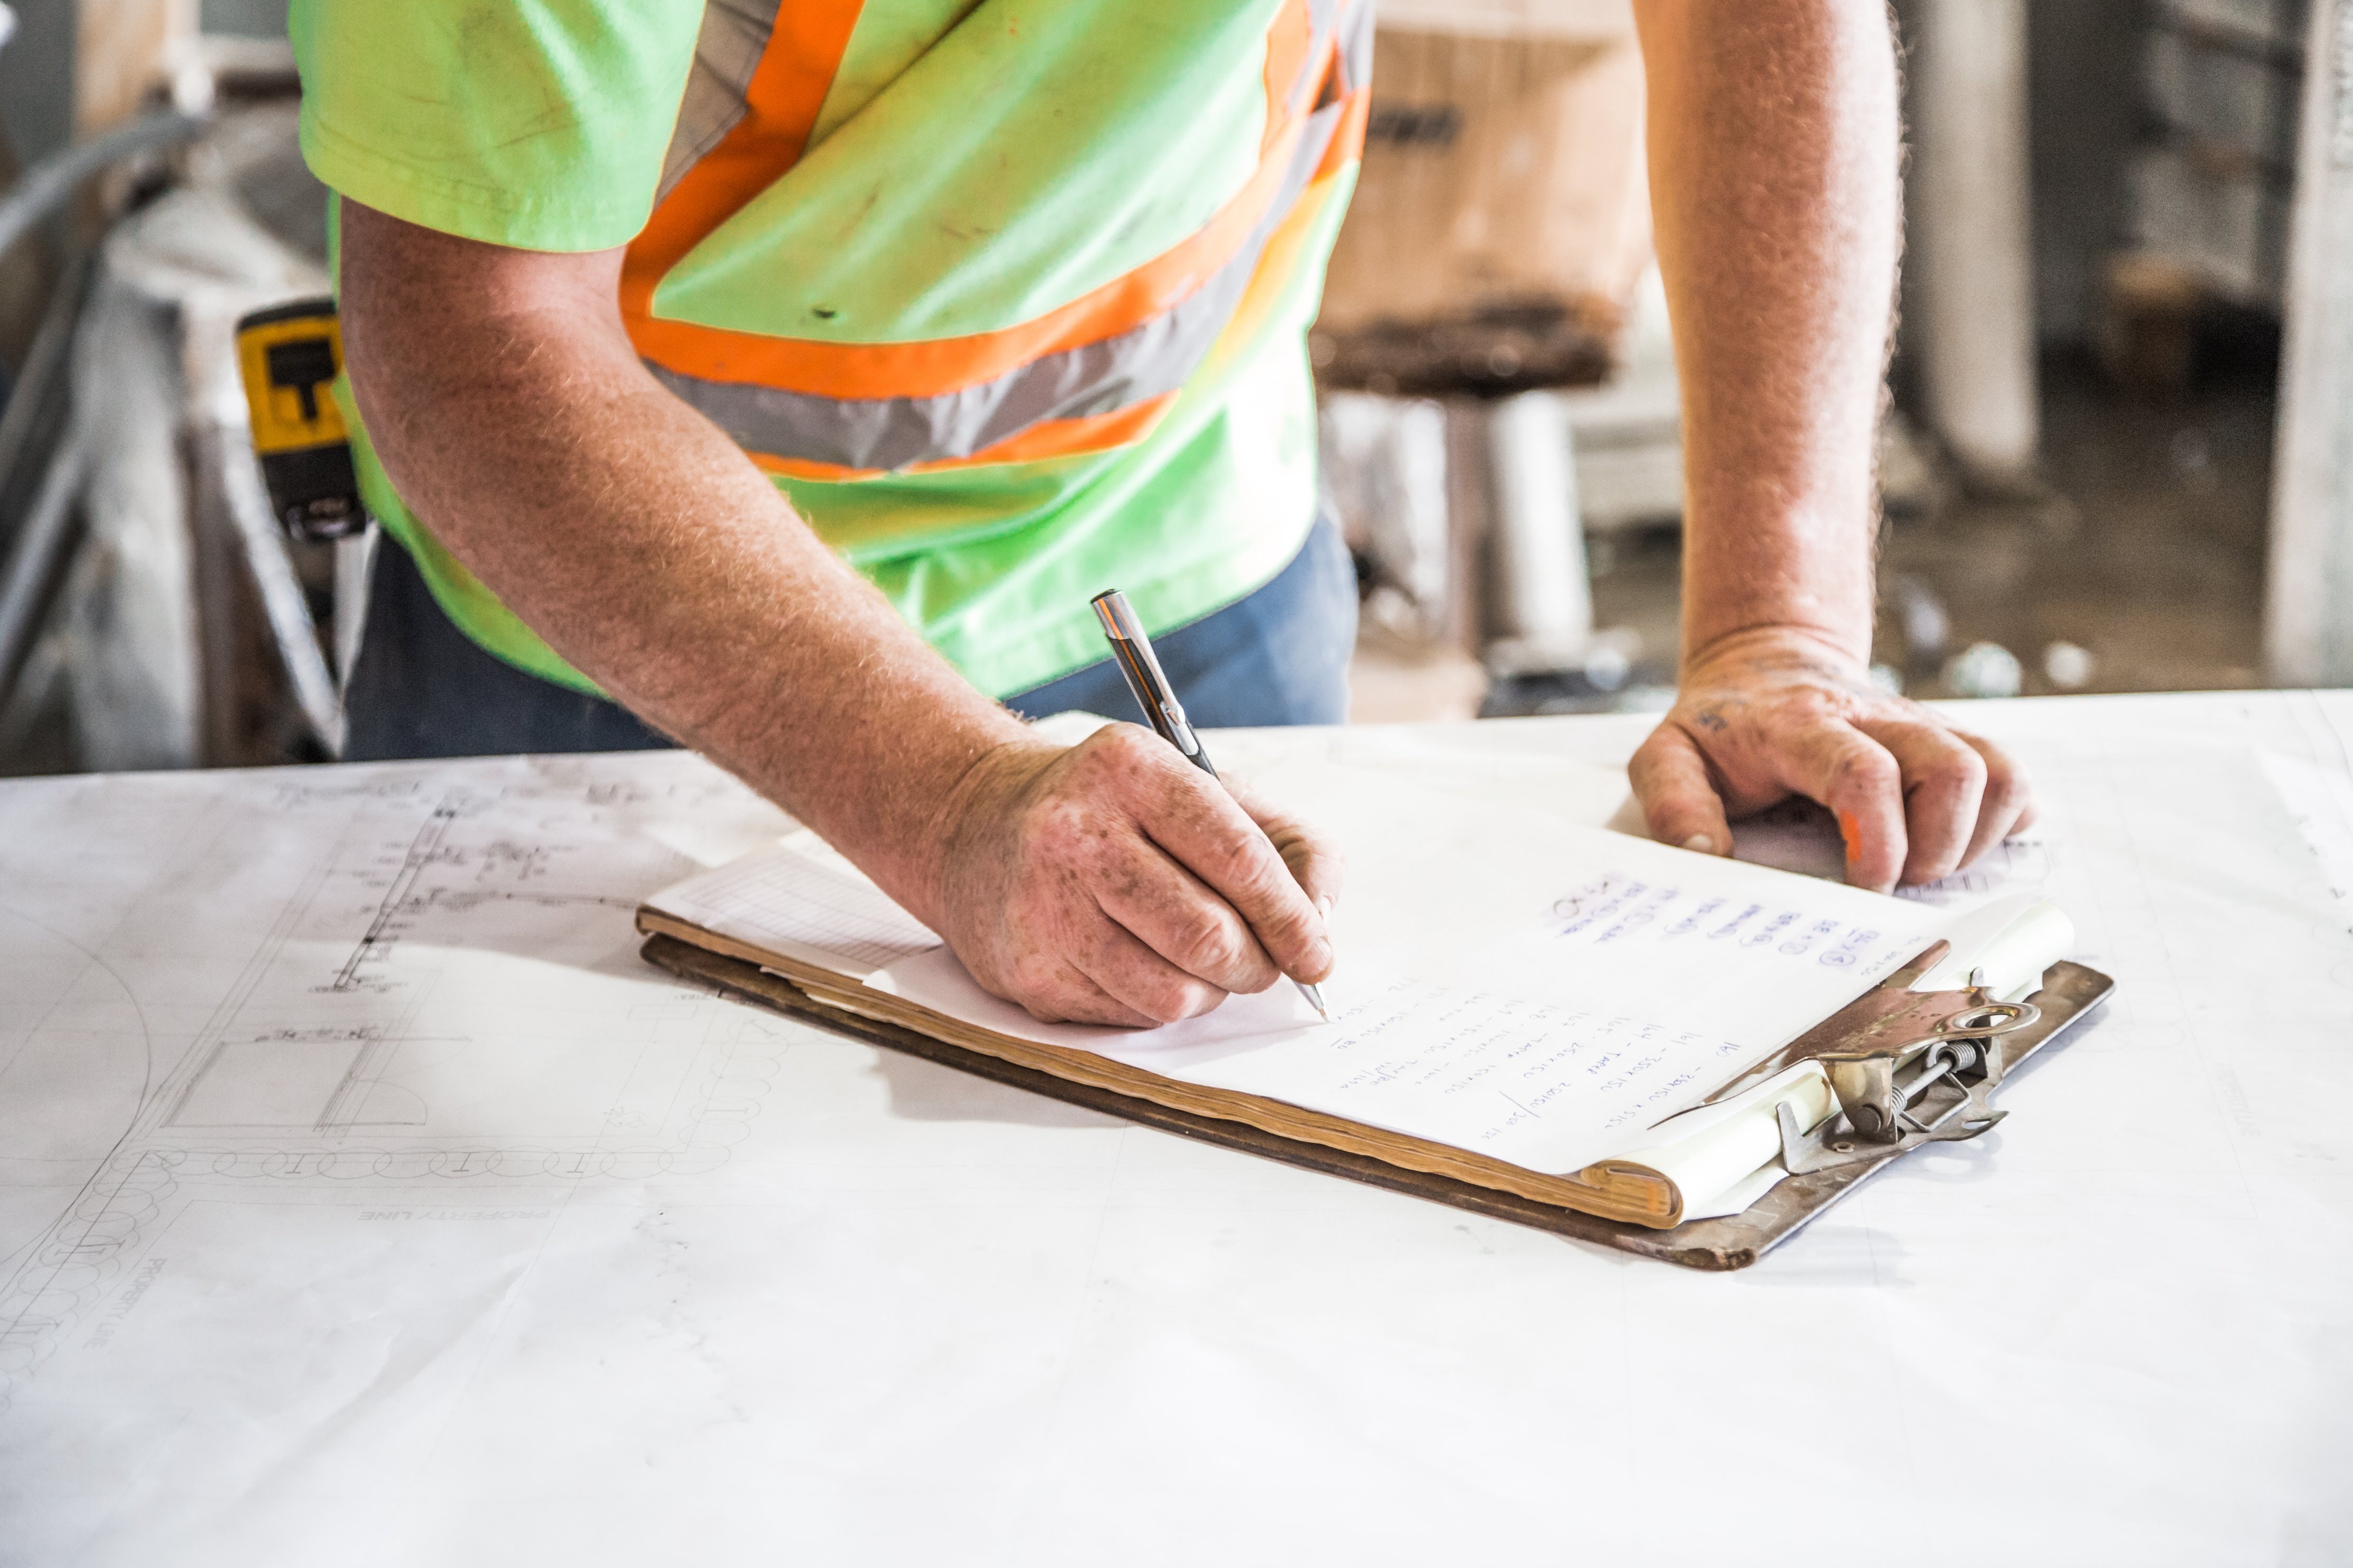
- Two sets of plans outlining all plans. These plans should show specific, detailed illustrations of the project in question—think floor plans and the like. One set will be kept in the municipality’s file, the other goes to the job site.
- A site plan or property survey. This information helps officials see everything in context before they make a decision.
Once the application packet is received, it will be reviewed to ensure the project complies with the Ontario Building Code, zoning, grading approval, and other local laws.
Once your application packet is approved, officials will issue your permits. At this time work on your dream home can begin.
Permits and Your Project Timeline
The average cost of building permits for a 2,000 square foot home is somewhere around $2,400 in Ottawa. This will vary by municipality and project, however.
As for how this impacts your project timeline, though, you can generally expect a wait of 10 business days.
Again, this will vary from municipality to municipality, and according to your project.
Getting permits for water and sewer service connections, for example, depends on the scope of the building’s use, and the price may vary, as well.
Once the permit(s) arrive, make sure they are visibly posted in accordance with provincial and municipal law.
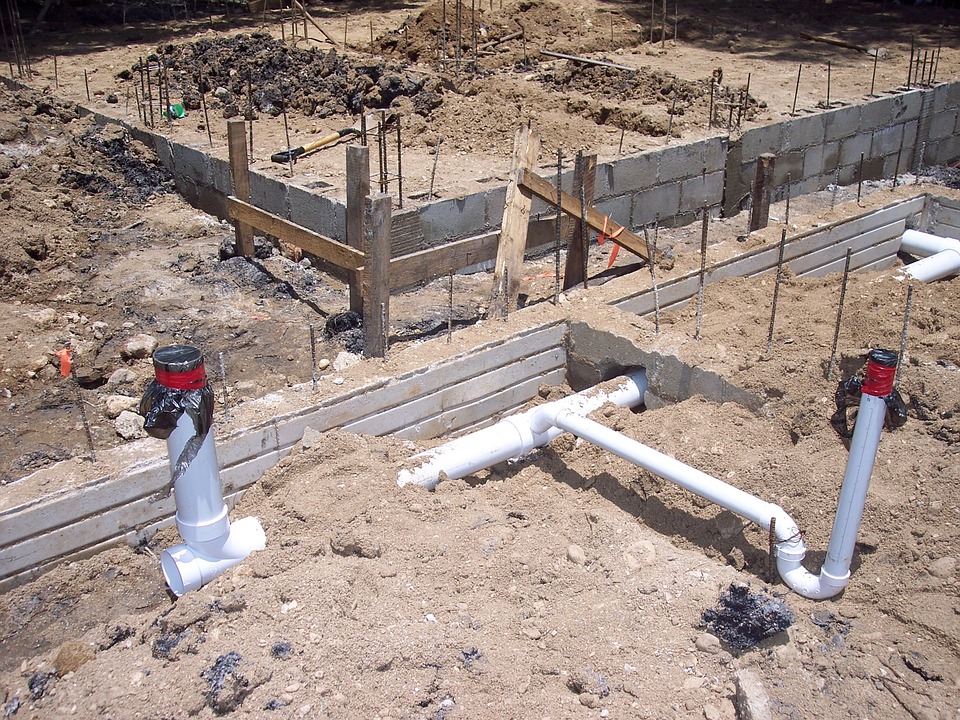
If your application is denied, officials should explain to you why and provide detail on what changes need to be made to qualify for approval.
If you’re still struggling, though, your experienced contractors may be able to help.
Work with Contractors to Streamline the Process
While you can plan everything down to the precise detail, sometimes things might not go as planned.
But by working with skilled professional home builders you can minimize those unexpected changes and keep on budget. A good contractor will help make this process smooth and stress-free.
Getting all your permits in place helps keep the construction process as smooth as possible, without delays or disappointments.
Inspections will take place during key parts of the project which will ensure the work is properly done, keeping your project closer to projected completion estimate.
Either you or your contractor can book the appropriate inspection appointments.
Working with professional home renovation companies for your major home projects help to streamline the process from start to finish They’ll ensure the job is done right and according to your specifications.
Before you know it, you’ll be enjoying your newly completed home!
Behind Closet Doors: Creating Unforgettable Walk-In Closets
Design Ideas to Help Inspire the Creation of Your New Favourite Room
Once upon a time, the walk-in closet was an item exclusively for the upper crust of society, a feature in mansions around the world that most people could only dream of.
Thankfully, times have changed. These days, walk-in closets are an incredibly popular feature in many homes. They’re a common feature in most custom homes, and more homeowners looking to transform their house include walk-in closet renovations in their to-do list.
These spaces create a sense of luxury in addition to offering practical benefits—and there’s plenty you can do to add even more to this space.
No matter the size, a walk-in closet is a room of its own. Designing its layout to make the most of the space will enhance your experience with this extra room in your home.
Not sure where to start? Don’t worry, we’ve got you covered with planning tips, layout ideas, and other considerations to help you make the most of this space.
What Is A Good Size for A Walk-In Closet?
This is the big question! Some people will say a walk-in closet or wardrobe can never be too big. Others simply want that extra little bit of space for storage.
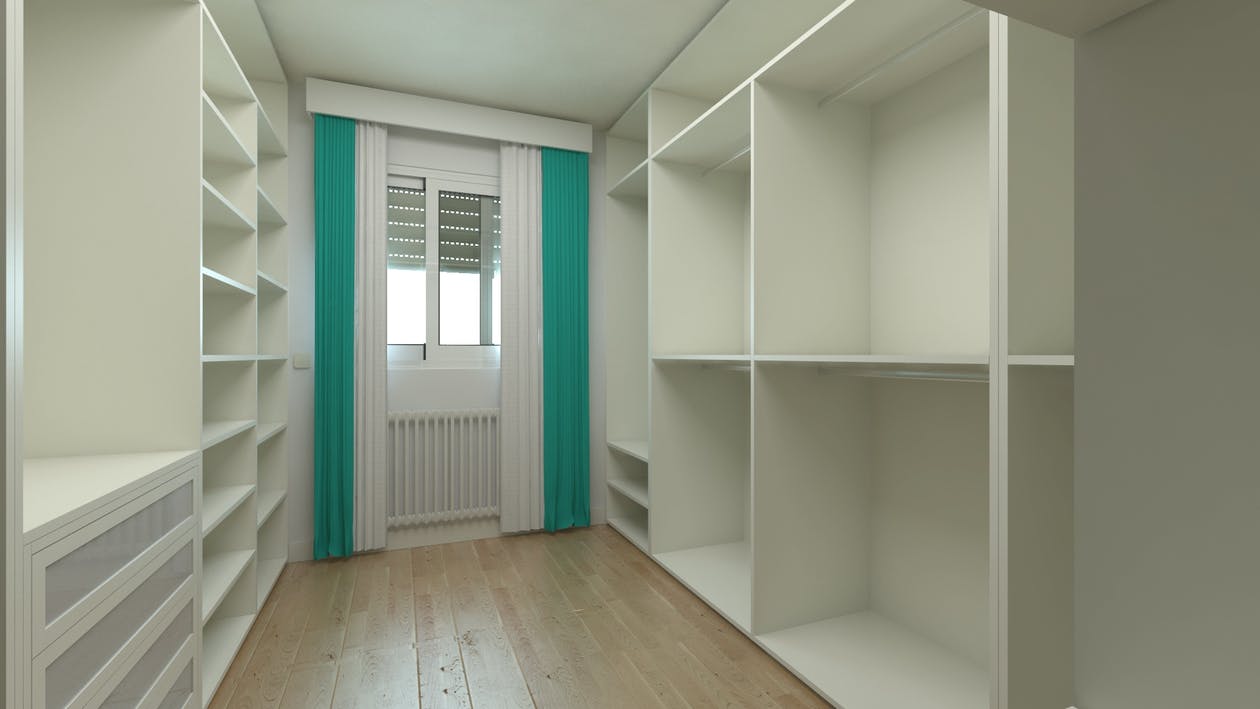
The average minimum size for a walk-in closet is 4 feet wide by 4 feet deep. A closet of this size will use the back wall and a side wall for shelves, hanging rods, and drawers, but might get crowded fast.
While that’s the minimum size, the standard width of a walk-in closet can range from 5 feet to 12 feet or more. And the depth can range from 5 feet to 17 feet or larger.
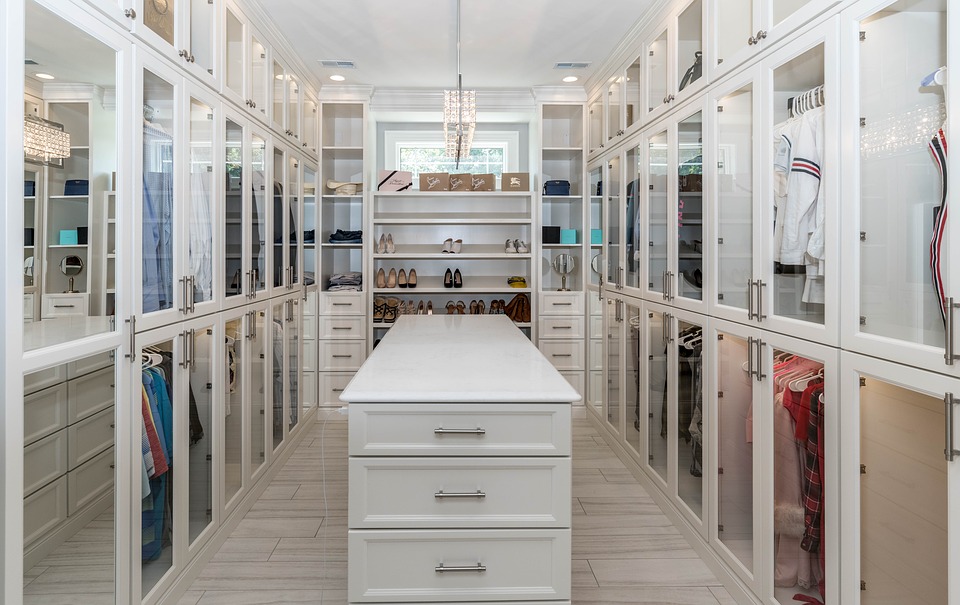
Keep in mind that most walk-in closets are at least 6.5 feet wide, allowing for easy access to everything you need.
Choosing A Style to Match Your Space and Needs
The style and physical shape of your closet will depend on the amount of space you have to work with.
That being said, there are three common shapes and styles to work with:
- An L-shaped closet, which uses two walls and provides ample floor space.
- A U-shaped closet, which uses three walls for a wealth of storage space.
- A straight walk-in closet, which typically uses one wall, or two parallel walls, and is ideal for smaller closet spaces.
When it comes to choosing the style of your closet, find a style that suits you and your home. For example, contemporary closet designs are ideal for clean, uncluttered spaces in modern-style homes.
You might also want to consider including a center island to free up some storage space on your walls. The sky’s the limit when it comes to style, but read on to learn more about designing your perfect storage space.
Design Considerations to Keep In Mind
The design of your walk-in wardrobe should be both functional and aesthetically pleasing. You want to create a room that you can use easily and that you enjoy spending time in.
With that in mind, here are a few tips and ideas to keep track of as you plan your closet:
Functionality
Your closet layout should provide easy access to everything in your closet, but especially to the items you use most often. Place shelving, drawers, and hanging rods in an easy-to-reach location.
Store your shoes on shelving near the entrance door of your closet. Shoe storage near the front of your closet makes it that much easier to put them away at the end of a long day.
Consider using a hidden laundry hamper that pulls out from a bottom drawer, so you can easily store and hide your dirty clothes.
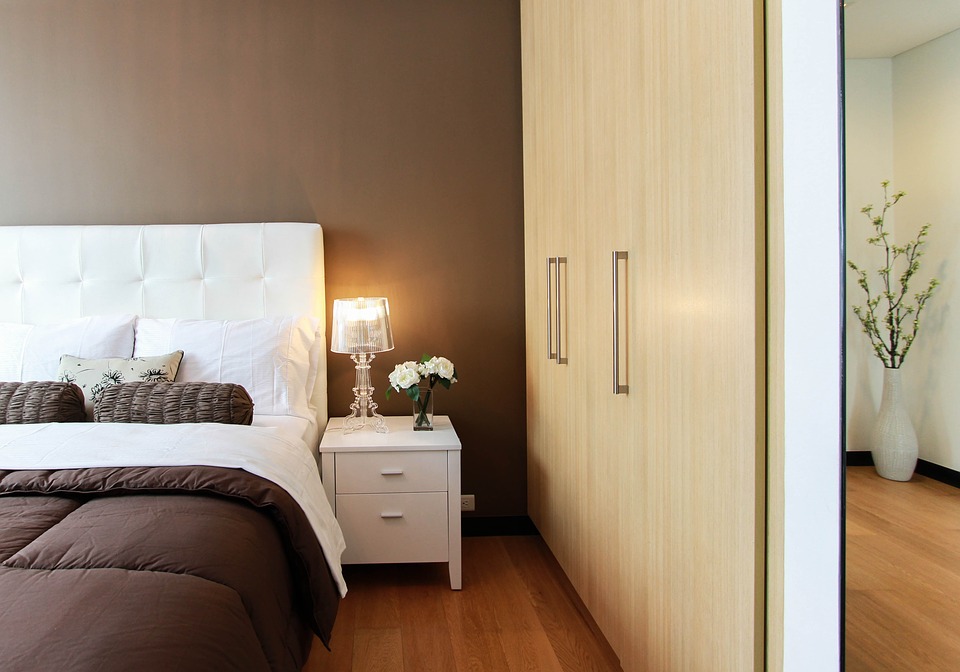
Lighting
Lighting not only enhances the functionality of a walk-in closet by improving visibility, but it also enhances the aesthetic of the closet’s design. Natural lighting from a window is always a bonus to have.
However, you can make the most of lighting with lighted closets, spotlights on shelves, and a central light, such as a chandelier.
Mirrors
Having at least one mirror in your walk-in closet will make dressing and trying on outfits a whole lot easier. Whether you have a vanity, a full-length mirror, or a mirror covering an entire wall, don’t forget this closet must-have!
Focal Point
Create a focal point in your walk-in closet using a built-in dresser or hutch. If you’ve got the space, you can place an island dresser or bench seating area in the centre of the closet. Ottomans and chairs are also useful for sitting when putting on your shoes, as are window seats.
The dresser can also have smaller shelves and drawers to store small items, such as jewellery, watches, belts, ties, and scarves. Surrounding the focal point and along the walls, place shelving and hanging rods for an open feel.
Storage
The more storage space you have, the better. Make sure to include dedicated storage space for all your clothing, accessories, and seasonal items. This designated storage will make it easier to find what you’re looking for. This keeps all your items better organized and dust free (if in drawers or cabinets).
Use the space above hanging rods for storage. Purses and folded items can be stored on shelves above the rods. The very top shelves can be used to store items you don’t use as often, such as seasonal clothing and luggage.
You can also use adjustable hanging rods to double your storage space and keep similar items together.
Accents
The variety of custom accents for closets is almost limitless. Consider crown moulding, custom cabinetry and hardware, light fixtures, art, and décor.
Organizing A Walk-In Closet
Obviously, you can organize your closet however you wish, but if you’re not sure where to start, here are a few tips to keep in mind:
- Shoes located near the entryway of the closet.
- Most frequently used clothing and accessories hanging or stored on shelves and in drawers within easy reach.
- A dresser or vanity as a focal point.
- Seating near the centre of the floor.
- Small accessories in small drawers.
- Purses and hats on shelves.
- Top-shelf storage for items not in use at the moment, e.g., seasonal wardrobes and luggage.
- Adjustable shelves and hanging rods to maximize storage space.

How Much Does A Custom Walk-In Closet Cost?
The average price for a custom, professionally-installed walk-in closet ranges from around $5,000 to $20,000, depending on materials and the scope of the installation project. Keep in mind this is a ballpark figure and creating a walk-in closet could mean more extensive renovations to a room. It all depends on what you’re trying to achieve!
When in doubt, reach out to expert renovators to get a more exact quote.
You don’t need to live in a mansion to enjoy a luxurious walk-in closet. Whether you live in a 12-bedroom mansion or a more modest-sized home, the pros can help you design the walk-in closet of your dreams—a walk-in closet that suits your home, your personal style, and your lifestyle.
To Build or To Renovate? That is The Question!
What’s the Best Way To Get Your Dream Home?
Getting your dream home takes work. Custom homes give you an amazing opportunity to create your dream home from the ground up, but they’re a big step to take, especially if you’re fond of your current home.
Many people only get one opportunity to build their dream home, so it’s understandable that they’re a bit apprehensive about taking the plunge.
As such, many homeowners focus more on renovating their current home to add the features they’re missing or the style they’ve always wanted.
Of course, this raises an interesting question about your dream home: can you simply renovate your existing property to get it to where you want to be? Or is it time to build something completely new?
Renovations or New Construction: What’s the Big Deal?
There are countless reasons why you may want to stay in the home you’re already in.
You could be in a good neighbourhood that’s already on the way up, you may already like quite a bit about your home, or you may have already invested a lot into making your home just right.
Still, it’s easy to outgrow a home. Even if all the other stars align, you could find yourself needing or wanting new space.
It’s tough to choose between both options.
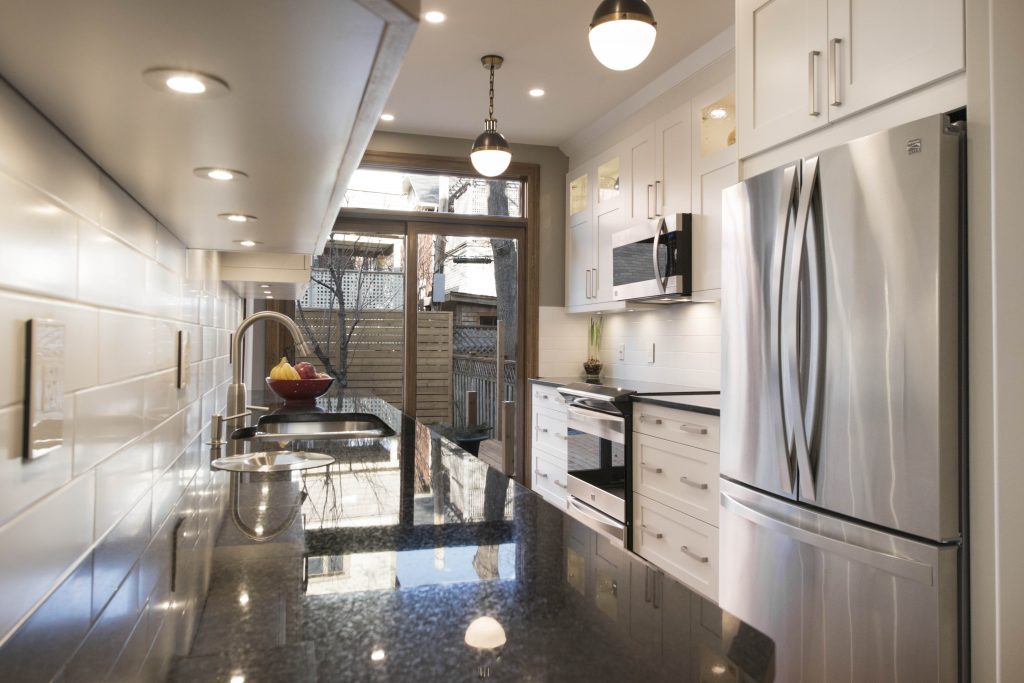
After all, your current home is your home; it’s comfortable, you’ve put time, energy, and money into making it your own, and it’s full of memories.
Let’s take a closer look at your options to help you decide whether it’s time to build new or not.
To Renovate: Luxury, Style, and Space
Is your main issue with your home that it feels a bit out of date?
The main case for renovations is that you get to keep the things you like about your home while fixing the things you don’t. Still, sometimes, it’s not enough. Let’s look at the case for and the case against:
The Case for Luxury Renovations
Renovations are a great option if you want to update style and refresh your home’s design.
They can also help address structural issues, create amazing additions, and make the most of your current space.
If you’re feeling particularly bold, there’s nothing stopping you from gutting your home down to its bones and renovation from the ground up.
If your home's market price is on the low to mid-range of your neighbourhood, luxury renovations can easily improve your property value.
Granite counters, hardwood floors, and spa-style bathrooms all increase your enjoyment of your home in addition to its aesthetic impact.
If it's just the style of your property that's holding you back, an update may be in order.
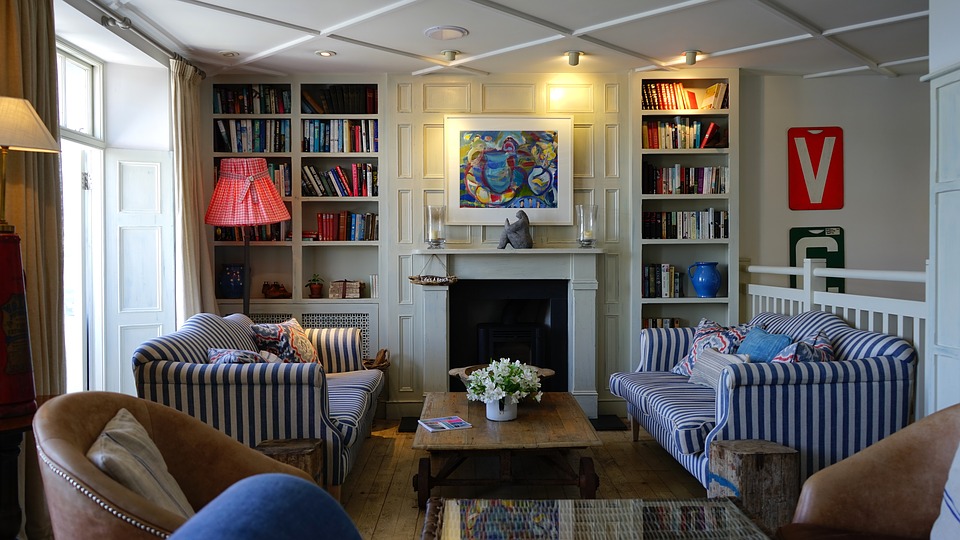
The Case Against Renovating
Renovations can only do so much.
After all, at some point, your vision for your home has to reconcile with the facts of your home.
For example, an older build might mean that the luxury bathroom features you want to add require significant updates to your plumbing.
Knocking down a wall to make space might not be feasible due to your home’s bones.
You’re also stuck with the history and age of your home.
For younger builds, this isn’t as much of an issue, but a home that’s already 30 or 40 years old can start to show its age in labour-intensive ways. It’s to be expected, but can still be frustrating.
It’s also harder to add spaces to an existing home. While nothing’s impossible, at some point, the cost is so high that you might as well be investing in a new home altogether!
It all depends on your goals. If you’re willing to pay the price for your comfort, there’s no reason not to renovate.
Custom Home Construction
If you’re going to be spending so much on renovations that you might as well be getting a new home, why not put that capital into a home tailored to your exact specifications?
A custom home is exactly what you want from the ground up, with the added benefit of having all new components.
The Case for Custom Homes
A custom home gives you absolutely everything that you want in a single package, built to code and your exacting specifications.
Simply put, it’s the most direct way to get your dream home.
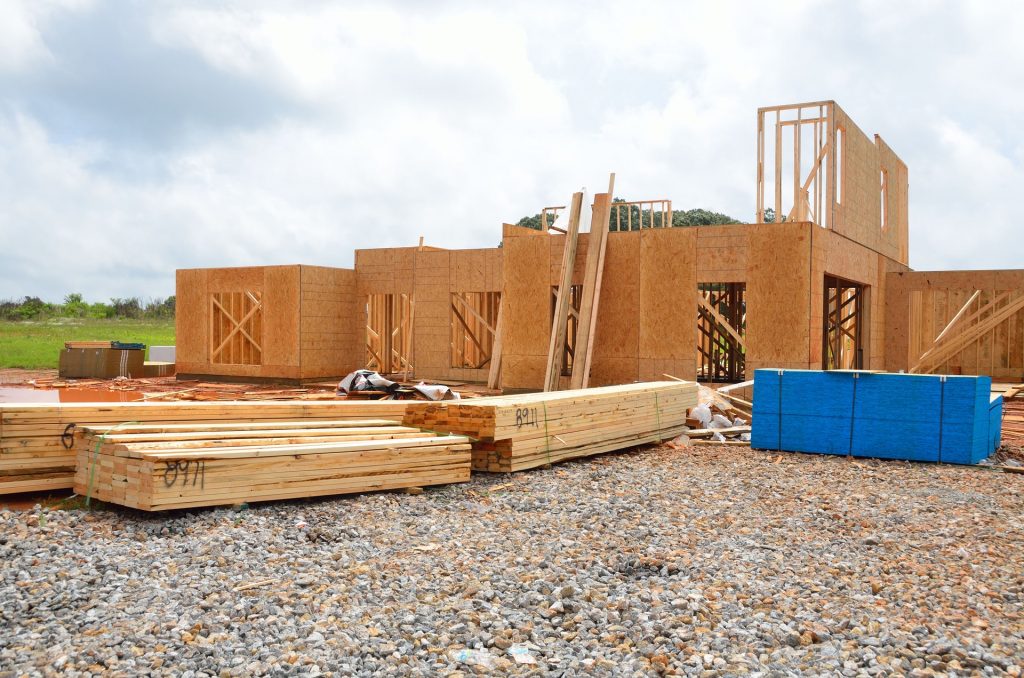
Rather than remodel or renovate an existing property, you control absolutely everything: the layout, the features, the style, and the floors.
And since it's a brand-new home, everything will be under warranty and will last much longer.
Best of all, you’ll have a complete history of what’s been done on your home, where everything is, how it’s wired, where the plumbing and heating run, and who did the work.
You’ve got total control over your home, from top to bottom. It’s truly yours.
The Case Against Custom Homes
There’s not really much of a case against custom homes, beyond the cost.
Still, if you’re having this debate with yourself, the cost is something you’re likely already considering.
A custom home will also take more time than renovations, though with extensive renovation work, it’s possible that a custom home can be finished sooner and with less money spent overall.
Again, it all depends on what you want.
What Are Your Needs? What Are Your Dreams?
Remember, you may only get the one opportunity to build a custom home. It’s a chance to align your home with your dreams and your plans for your life.
Take some time to consider what you want out of a home, and whether you think you’d be satisfied with renovating your existing property, or if you’re ready to take the plunge and break ground on a new project.
If you’re still on the fence, take some time to speak with professional custom home builders and renovators.
They’ll be able to answer any of your questions and can provide quotes for both options.
At the end of the day, the decision boils down to what you want and what you’re willing to compromise on.
Remember, Renovation is Always an Option
While many people only get one chance to build a dream home, renovation is always possible—even on a custom property.
Renovations are often necessary to refresh your home and make sure it still fits your lifestyle.
Think about your priorities ten years ago. Were they the same as your priorities today?
As your family grows and changes, you may find yourself with different housing needs.
Even if things change in your life, a custom home can change with them. Renovation makes it possible!
Take a Third Option—Remodel and Rebuild!
Remodelling and rebuilding is also always an option, especially if there are fairly extensive renovations that you want.
You can rebuild large sections of your property to your own desires, creating the perfect custom home.
You don't always have to start on your dream home completely from scratch.
This is the best of both worlds, as you can retain many features of your current home while starting fresh.
Determining whether you want to renovate, remodel, or rebuild really starts with figuring out your idea of a dream home.
You need to identify where your current home fails to meet your desires—and exactly what you want in a property.
So are you ready to get started? We're here to help!
The Suite Spot: Creating an Income Property at Home
Creating an Income Property with Clever Basement Renovations
Looking for additional income, or want to fund other projects in your home? Developing an income property such as a basement apartment or suite is a fantastic way to add a bit more comfort to your home while putting a bit of money in your pocket.
If you’ve been eyeing an unfinished basement for a while, unsure of what to do with the space, creating a comfortable space to rent out might be the solution you’ve been looking for.
Basement finishing, upgrades, and renovations can transform your basement into a luxurious suite, perfect for renting out to students or young professionals.
What are the Benefits of A Rental Property?
If you’re not using your basement, or you rarely use it, you can transform it into a useful and profitable living space.
With your new basement suite, you can:
- Earn extra income;
- Pay off your mortgage faster; and
- Get a fast return on your investment. With rental income, it may only take a year or two to earn back your investment into renovations.
Keep in mind, you can renovate part of your basement to create an income suite while reserving more space for a rec room, storage, or a luxurious laundry room.
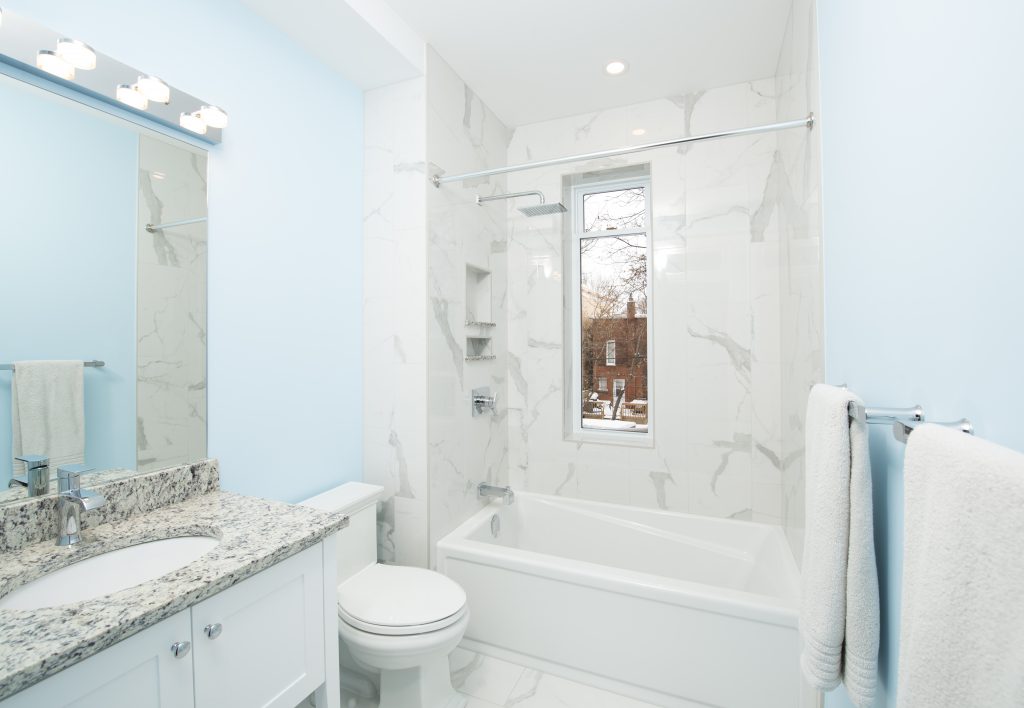
What’s more, if you find that playing landlord at your own home isn’t for you, a basement suite is perfect for hosting guests for longer stays and ensuring everyone’s extremely comfortable.
Must-Have Basement Apartment Features
The more features you include in your basement suite, the happier prospective tenants will be to rent your unit, and at a higher price.
It goes without saying that you’ll need at least one bedroom and a full bathroom, as well as a kitchen area. But beyond that, there are plenty of additional features to consider:
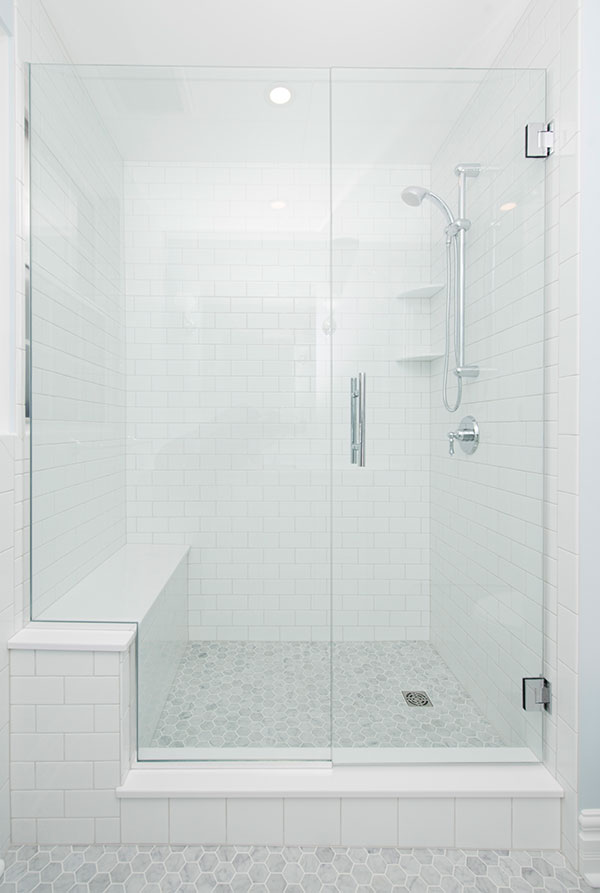
- Bathtubs can be a selling point for potential tenants. A full bathroom with a shower is great, and the standard, but a tub adds a touch more comfort and functionality to the space.
- Some living space is expected in any rental, even if it’s a basement suite. You could include a dedicated dining area close to the kitchen you install, too, expanding on the available space to make it more appealing to your tenants.
- If this is going to be a person’s home, they’ll need a fully functional kitchen. Consider installing a microwave and dishwasher to add a few more comforts.
- An exterior entrance means that you and your tenants get some privacy from each other; sharing your home’s front entrance isn’t exactly ideal for people who likely lead very different lives. If you don’t plan on connecting your basement suite to the rest of your home with an interior entrance, this is an absolute must. Your tenants will need a means of egress for safety reasons, too.
- An independent heating and cooling system can prevent headaches related to bills and gives your tenants more control over their home.
- Laundry machines are a huge selling point for renters. Consider finding some space for a stacked washer and dryer set. Alternatively, if your basement suite doesn’t take up the entire level, install a doorway so tenants can use your laundry machines. Just set a few ground rules first!
Design A Rental Suite
An income property in your basement should be more than a place to sleep. As much as it’s a home for your tenants, it’s also a reflection of your design tastes and styles, especially if you plan on using it to host guests in the future.
Consider these design tips when creating plans for your basement renovations:
High Ceilings
Low ceilings in basements will turn off potential renters. Basement apartments should have ceilings no less than seven feet for more than 75% of the space. And the higher the ceilings, the better.
Adding height to ceilings is a matter of digging down into the ground to lower the basement floor. Also, consider using recessed lighting to maintain the ceiling height.
Open-Concept Layout
Open-concept layouts are ideal for basement apartments, whether you have separate bedrooms or a studio apartment. Keep bedrooms as far away from the entrance as possible. Keep the kitchen and living space near the entrance to maintain an open-concept layout.
Bedrooms
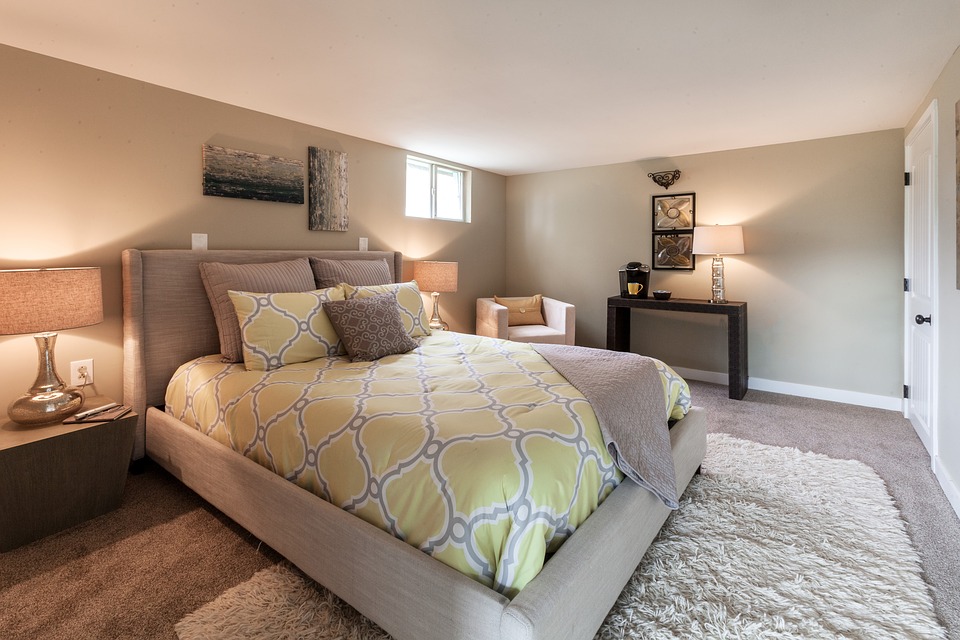
The total square footage of the basement will determine how many bedrooms you can create. While building walls and separate bedrooms takes more time and money than creating a studio apartment, you will be able to earn a higher rental income with each additional bedroom.
Flooring
Consider adding heated flooring in the bathroom, laundry room, and entryway. Heated flooring throughout is even better, especially if you have hardwood flooring and tiles.
Paint
Keep the paint colours warm and neutral to please all prospective tenants and avoid the need to repaint.
Laundry Room/Kitchen
If you already have a laundry room in the basement, consider converting the laundry room into the kitchen since the plumbing already exists there. And to save space, get a stackable washer/dryer and a combo heater/boiler.
Other Tips
- Use kitchen cabinets that open upwards to save space, or use open-concept shelving.
- Install a vanity mirror to add lighting to the bathroom.
- Add storage to the bedroom.
Once you’ve decided on the general layout of your basement apartment, it’s time to create a floor plan with the help of trusted contractors like the team here at Sunter Homes.
Adding Lasting Value with a Basement Suite/Apartment
To ensure your tenants are happy and your basement apartment is in top condition, make sure your renovations are 100% safe and legal. Check with your municipality first to see what the requirements are for building a rental unit in your basement.
Hire an engineer, architect, or a qualified person with a Building Code Inspection Number (BCIN) to create the plans for the project and ensure the plans are to code. You will need these plans to apply for the required building permits before you start your basement renovations.
To add lasting value to your basement apartment:
- Use updated quality finishes, such as light fixtures, cabinet hardware, and faucets. These should be modern, clean, and properly installed.
- Use easy-to-clean, low-maintenance materials and surfaces that will wear well and still look good after years of renting.
- Install window treatments so you don’t have to worry about how your tenants will install them—e.g., putting holes in the window frames.
Other ways to add value to your basement suit include:
Installing a Fireplace
While a fireplace is not a must-have for a basement suite, it sure helps to add luxury appeal. So consider installing a gas fireplace to impress renters and make the unit feel cozier.
Universal Design Ideas
Consider making your basement apartment accessible for tenants who are elderly, in wheelchairs, or who have other physical disabilities. Universal designs include:
- Building a ramp to your basement entrance;
- Wider doorways;
- Even flooring—i.e., no steps or separate levels;
- Lower countertops and light switches;
- Zero threshold showers; and
- Grab bars by the toilet, tub, and in the shower.
Installing A Basement Entrance
All basement apartments must have a means of egress—a safe, unobstructed exit in the event of a fire or other emergency. Most tenants would also prefer to have a separate entrance to their apartment than have to use the house’s main entrance.
The entrance should be the first item on your to-do list when it’s time to start the renovation. A separate entrance to your basement will save you and your contractors time and energy since you won’t have to go through your house each time you want to enter the basement.
It also saves you from having to clean up a mess each day in your home and in your newly renovated basement.
To install an exterior asement entrance, your contractors will need to:
- Excavate earth next to your home at the entrance’s chosen location. This will need to be removed from the job site, too.
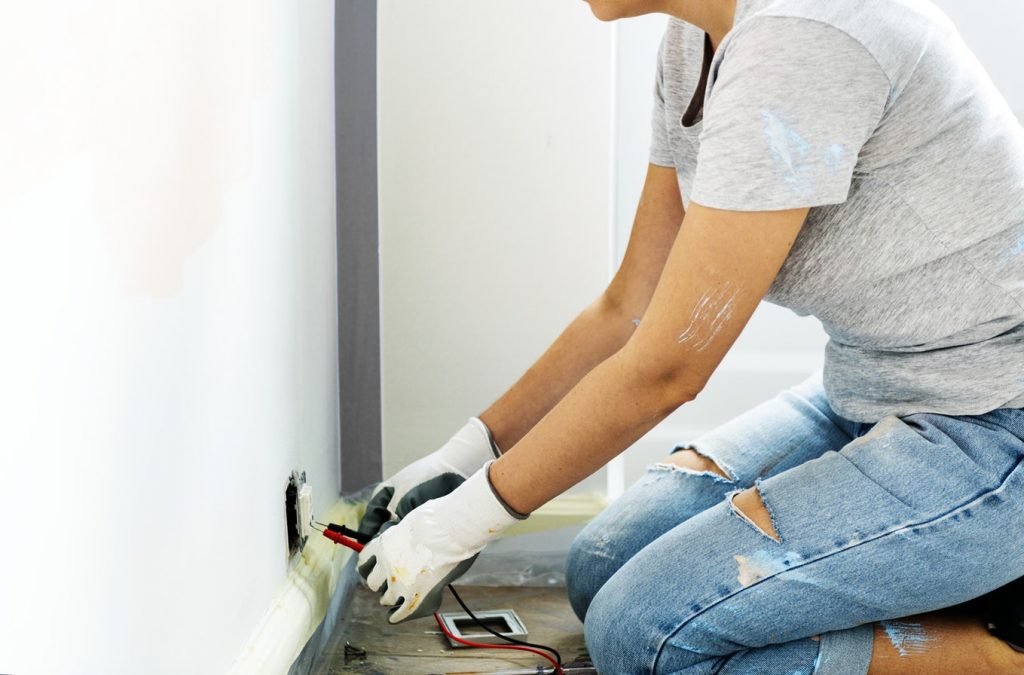
- Use a concrete saw to cut the concrete foundation from the inside and outside along the doorway lines. You will need dust protection in your basement before doing this step.
- Use a jackhammer to remove the cut concrete slab.
- Pour concrete footers and install a drain.
- Install concrete block walls.
- Pour concrete steps and tie in the drain.
- Parge block walls and install a door.
- Install guardrails 36 inches above ground level to prevent children, animals, and people from falling into the basement entrance way. You may also want to consider installing a gate at the front of the entrance and landscaping around the entranceway.
- Once you finish the basement, you may need to adjust the entry door using a jam extension.
Of course, you might also simply install a staircase in your home and another entry way by that staircase. Talking to renovation experts can help you determine the best plan of attack and find a solution that works for you.
While a lot of work goes into planning and executing basement renovations, the end result pays off when you start earning a steady monthly rental income. So transform your barely-used basement into a useful, comfortable living space that will make you money for years to come.
Building the Custom Home of Your Dreams: Inspiration and Design
Planning and Designing Your Dream Home, From Budget to Floor Plans and Beyond
Where do you start when designing your dream home?
There are likely a hundred things running through your head when you start down the path to a custom home. It can seem overwhelming, but taking it step-by-step and building up inspiration can help.
Ultimately, your best bet is going to be getting involved with an architect or designer early on. Here's what you need to know about the entire process.
The Benefits of a Custom Home
Believe it or not, a custom home can actually be less expensive than purchasing an existing home.
When you purchase an existing home, you often need to renovate it to get it just the way you want it.
Whether you're putting in floors or just painting each room, that's both time and money being spent on getting the home "just right."
When you build a custom home, not only do you get exactly what you want, but you get what you want the first time.
Further, custom homes are also new homes. That means a new HVAC system, a new roof, and new appliances.
You won't need to worry about anything breaking down, the way you might need to worry about an older home.
Not only does that save you money, but it also saves you frustration.
Of course, it all starts with your vision for your home.
Designing Your Custom Home
Designing your dream home requires a lot of work, but it’s a rewarding process.
You likely already have a general idea of what you want in a property, but to create a custom home, you’ll need to develop a complete home design.
You can begin by collecting inspiration from magazines, the internet, and television shows.
Here are a few things to consider when you start the design process:
Space for Your Family to Live and Grow In
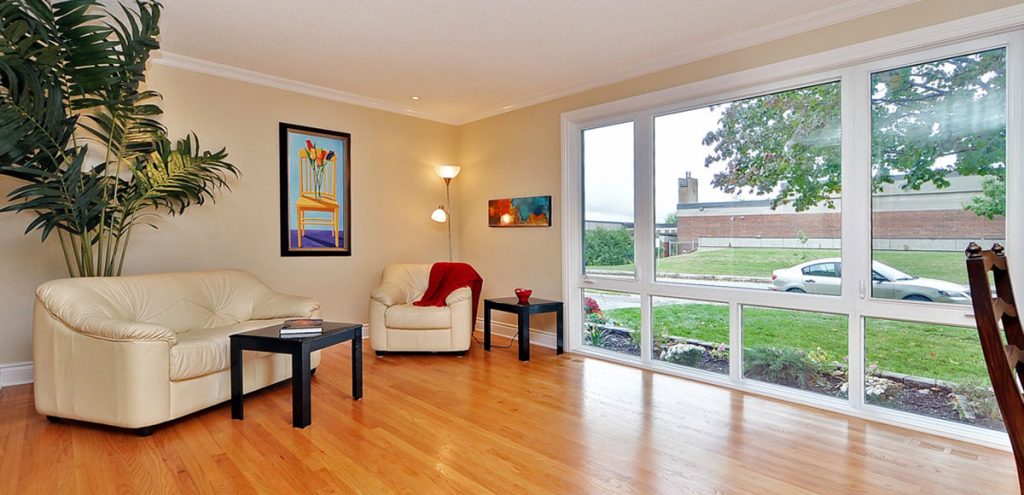
The size of your property and its layout is going to be the first thing you need to decide on. Custom made homes can be built in any layout to match your lifestyle.
Many luxury homes today have an open floor plan, but there are decisions to be made such as whether to place a master bedroom on the first floor or the second floor, how many bedrooms and bathrooms to have, and whether to have multiple living spaces or “bonus rooms.”
Consider what you and your family need now and what you’ll need in the future. How much space will you need to live and grow in?
Unforgettable Kitchens
The kitchen is undoubtedly what makes a dream home a dream home for many people. The heart of the home, the kitchen is usually where people tend to congregate.
Still, everyone has a (strong!) opinion about what they want in their kitchen, from the colour of the granite to the style of the cabinets.
An older kitchen looks extremely dated, while newer kitchens may still not have the layout or amenities that you want.
Adding a Touch of Luxury
Custom home builders give you the opportunity to add a real touch of luxury with unique upgrades.
Maybe you want a specialized loft space, a built-in library, or a complete spa-experience bathroom.
All of these features can be added to your property during the design phase, depending on what's most important to you.
Building a custom home is often about prioritizing: you get exactly what you want, and can highlight them with amazing materials and craftsmanship.
Should You Work with an Architect and/or Designer?
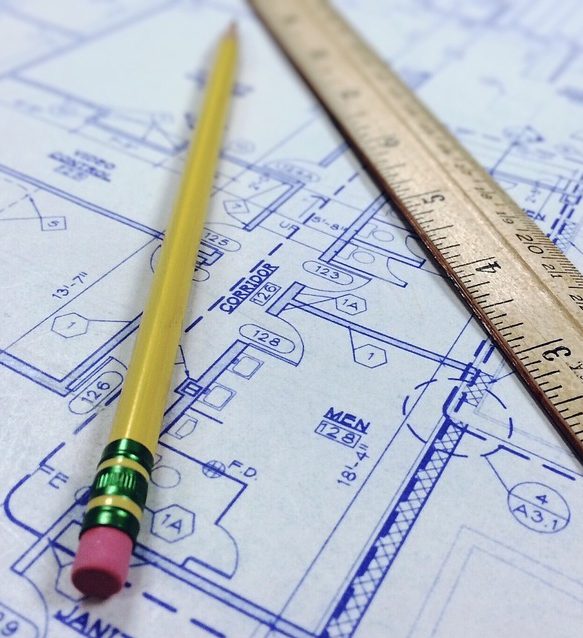
Let’s cut to the chase here: yes, you should absolutely work with an architect and designer for your custom home.
Your focus needs to be on the vision and feel of your home. When it comes to translating that to actual plans for construction, architects and designers are there to make it happen.
They’ll work with your custom home builders to bring that vision to life.
It’s up to these professionals to handle measurement details, zoning considerations, and the permit process.
Architects can create amazing spaces for you, nestling closets in the perfect spot, or finding great solutions for windows and layouts.
Designers, meanwhile, work to help create each space within your home, making recommendations on materials and styles.
You’ll work closely with them and your contractors to find the best options for your home.
Budgeting Guidelines
Setting a budget from the beginning is important. Start with your total budget, the total amount you’re willing to spend on your home, all-in.
Next, try breaking things down room-by-room.
Once you have a complete budget, you can prioritize how much you want to spend on bathrooms, kitchens, flooring, appliances, and the other critical aspects of the project.
This is another area in which professionals work closely with you because they can tell you how much every upgrade is going to cost.
You might want something fairly minor that's very expensive, or you might not realize that something that seems like a large and dramatic change actually won't cost much more at all.
Establishing a Timeline
Once you've figured out exactly what you want your property to look like and how much you want to spend, your custom home builder is going to establish a timeline for the build.
From the groundbreaking to the final walkthrough, you'll know exactly how long it'll take to create your dream home. If you're selling a property in order to buy your dream home, you may need to plan accordingly.
By working closely with an architect or designer, you can pull together different aspects of your inspiration and design into a workable budget and timeline. Knowing what you want is one thing, but it's a professional who will tell you how to achieve it.
To get started on your home design, contact Sunter Homes today.
6 Transformative Kitchen Design Tips
Get Inspired with These Tips to Make the Most of Your Kitchen
With the holidays right around the corner, you’re probably spending more and more time in the kitchen, either preparing speedy meals between seasonal activities or whipping up goodies to share with friends and family. As such, you’ve probably come to some stark truths about the kitchen design you’re working with.
You might have already had an idea about the limits you face in your kitchen, and perhaps you’ve even thought more about kitchen renovations to improve on those shortcomings.
It could be time to make some smart upgrades and to take a closer look at your kitchen’s bones. Renovations are an amazing way to revitalize the space and tailor its use to your needs, after all.
No matter where you’re at with your kitchen and how you’re feeling about it, though, there’s always room for inspiration! We’ve put together a few tips that can help you transform your kitchen into the space you’ve always wanted.
1 – Open Up Your Shelving
Open shelving is a love-it-or-hate-it kitchen feature. While some people see it as an amazing way to add chic functionality, others view it as a waste of space or a way to highlight clutter. The cost of kitchen cabinets is a factor too, as it’s not unusual for custom cabinetry to run as high as $1,200 per linear foot.
So, open or closed? As always, the reality is somewhere in between.
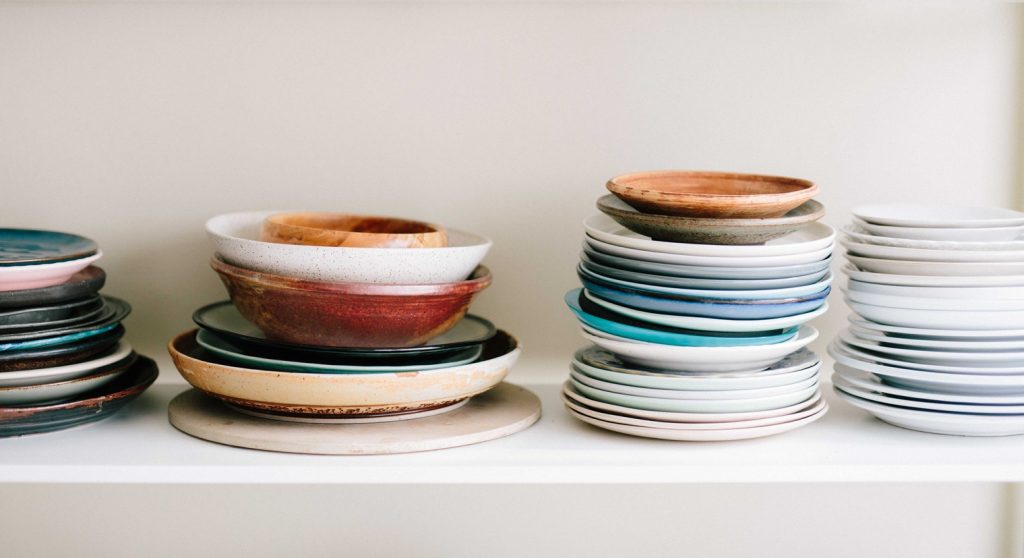
Open shelving has two chief uses:
- Displaying decorative or eye-catching items and dishes
- Putting your most-used items within easy reach
Chances are, if you’re feeling the constraints of your current kitchen, open shelving will help put your trusted spoons, pans, and spices close at hand so you can focus on cooking.
You’ll want to take some time to consider what you want to store and where you want to store it, and then you’ll have to consider shelving depth, the height of each shelf, and the gaps between your shelves. It’s about easy access, after all, so you don’t want to be struggling to carefully extricate items that were once hidden behind a cabinet door.
You could also add a rack to hang pots and pans from, giving you immediate access with a professional kitchen vibe.
If you don’t want to completely abandon the display potential of open shelving, consider mixing a few feature shelves in with your cabinetry. With the right kitchen design to tie it all together, this becomes a very sharp and stylish option.
2 – Finding Space for Appliances
On that same note: appliances take up a lot of space.
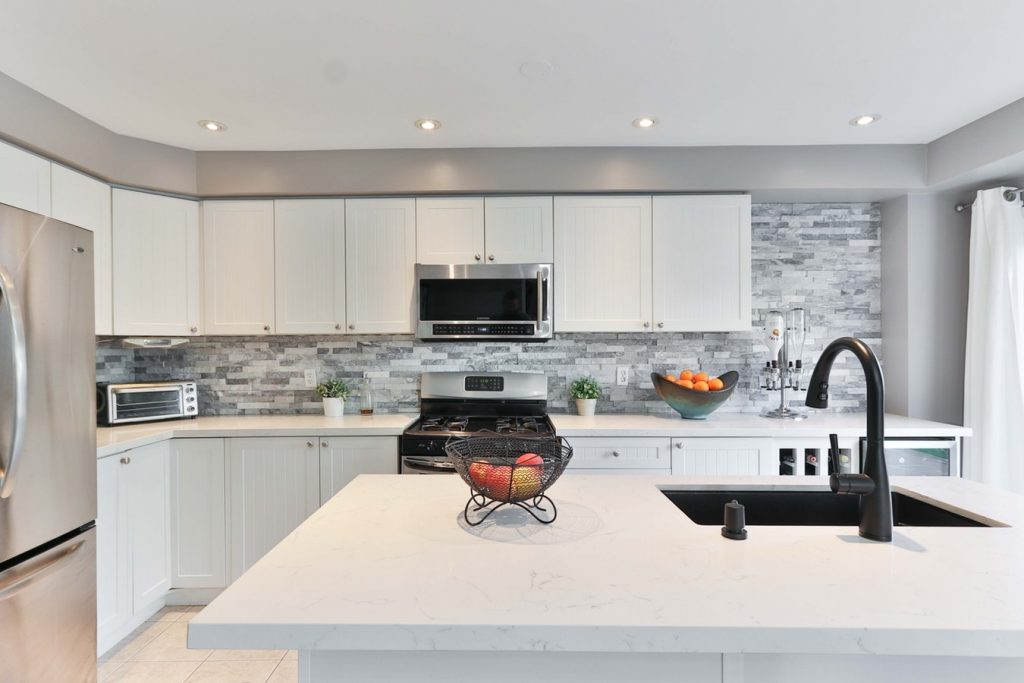
The microwave sitting on the countertop is useful, but maybe you need a bit more space for the turkey at Thanksgiving. The solution? Hide the appliances, or incorporate them into the “infrastructure” of your kitchen.
One possible solution is building custom shelving or space within your cabinetry to accommodate some of these pieces. Slide-out stand mixer stations are a popular option, for example, and there are many microwave models designed to fit snugly into a range hood.
This is a challenging one, to be sure, but it usually means rethinking your space in a meaningful way, addressing your work triangle, its work zones, and considering other upgrades an additions, such as an island.
3 - Upgrading Countertops
Once you’ve freed up some space on your counters, what do you do with them?
Even if your approach to your kitchen is geared towards functionality, you should still consider upgrading your countertops. While these upgrades are typically thought of as purely aesthetic, most of your options offer a wealth of benefits beyond good looks:
- Quartz: Get a stone look with minimal maintenance! Quartz stands up to hot dishes, pots, knives, and even staining, but can still chip, which will need professional repairs.
- Granite: Every granite countertop is unique due to how it’s sourced, and granite stands up to heat, cuts, and scratches; plus, it looks great! The downside? You’ll have to reseal it regularly to prevent stains, and it’s as prone to chipping as quartz can be.
- Soapstone, Limestone, and Marble: Unique, uncommon looks are possible with these materials, and minor scratches and nicks can easily be sanded out. They’re (mostly) heat-resistant, too, but marble isn’t so great when the temperatures rise. The downside is soapstone is really easy to damage, and staining can be tough to deal with.
- Butcher Block: Butcher block is easy to install and repair, and with some varnish can stand up to stains, no problem. It’s a classic warm look with tons of practical functionality, but you’ll need to care for your countertops regularly to maintain them.
- Laminate: Laminates look better than they used to, and they’re a great low-cost option that’s easy to install. Depending on what you buy, laminate countertops can be heat-resistant and clean easily, but knives and scratches will permanently cause damage.
- Recycled Glass: This ultra-contemporary style has a modern look that’s tough to beat, with a variety of available design options. But depending on the manufacturer, you might struggle to check all the boxes for stain resistance, heat resistance, and general toughness when it comes to wear and tear.
- Concrete: You’ve probably heard more and more chatter about concrete as a material for construction and design. It’s grown tremendously in popularity and offers a rugged, industrial aesthetic that’s popular in many modern homes. Concrete’s durable and easily customizable, but because it’s so porous, it can stain easily if it’s not sealed properly.
4 – No Kitchen is an Island…
…but a kitchen island can truly stand on its own, if you’ll pardon the pun!
If you’re struggling to really improve countertop space, consider adding an island. It gives you an additional surface to work with, giving you an option to move your sink from its position against a wall to free up more space.
An island can help you streamline the effectiveness of your kitchen’s work triangle, creating multiple spaces for food prep, cleaning, and additional storage. This is particularly appealing if you’ve been stuck with a single-line kitchen or a particularly narrow parallel/galley kitchen, but placing an island between two particularly distant faces of a parallel layout can add further functionality.
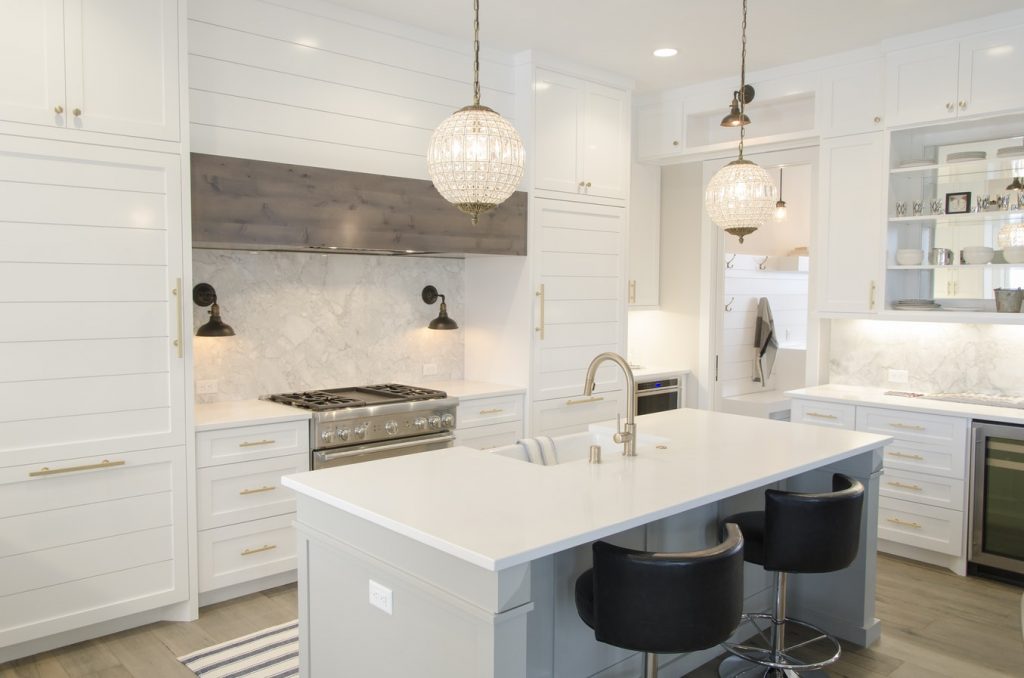
Plus, with the addition of an island, you’re tapping into some of the “transitional” or multi-purpose uses of the space.
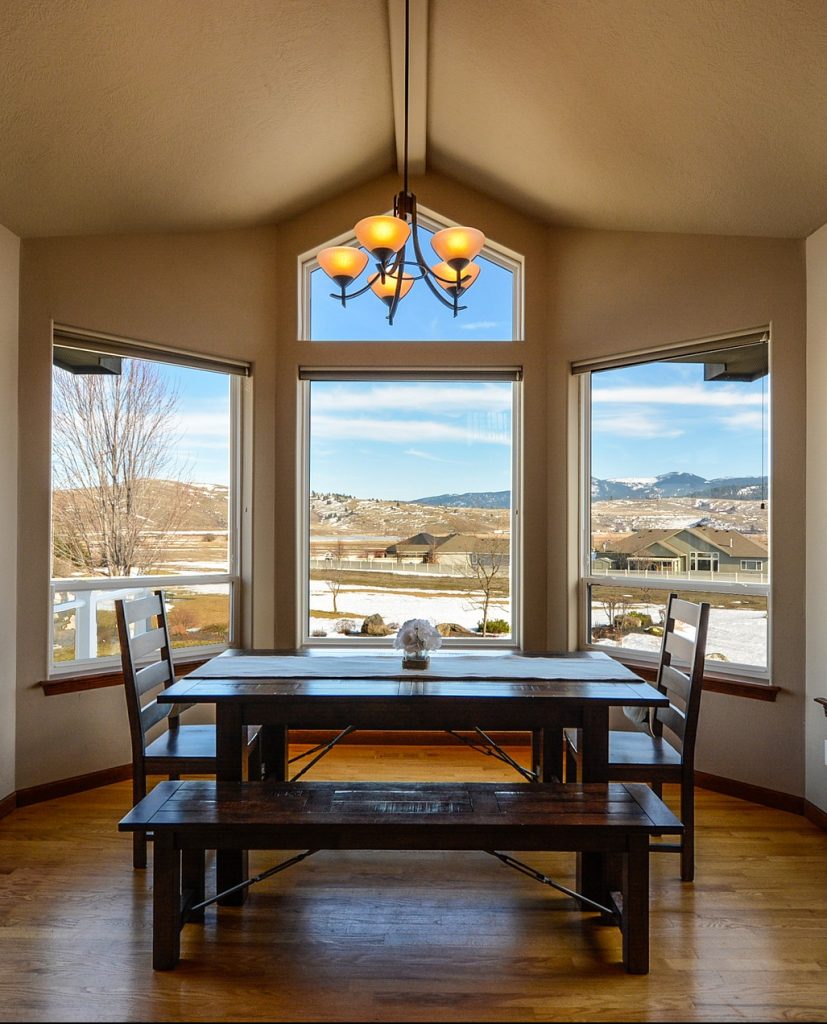
5 - Breakfast Nooks
The kitchen is, increasingly, the heart of the home, and the popularity of breakfast nooks and kitchen seating is one of the best illustrations of this concept.
Think of it this way: you’re trying to get the kids out of the door, but still want to spend a few moments with them in the morning. If you don’t have an open-concept main floor, it can feel lonely sending the little ones into the dining room to enjoy their breakfast while you get their lunches packed.
That’s where breakfast nooks come in.
Whether it’s a small table nestled in a corner or bar seating at an island, a breakfast nook is a great way to entertain guests and family while you’re busy in the kitchen. It adds a little extra something, perfect for modern, multi-use kitchens.
Let’s be honest, the kitchen plays double-duty all the time. How many people mosey over to the kitchen during a house party, abandoning the living room in favour of the kitchen’s energy? How many couples catch up at the end of the day as they do the dishes or make a meal together? Creating additional spaces for socializing within the kitchen is just the natural next step.
6 - The Right Stuff
Materials go a long way, but it takes some consideration and thought to find materials that go well with one another. Your materials tie your kitchen design together.
We generally recommend starting with countertops to make the most of the space, as it’s a central feature that catches the eye and sets the tone. From there, backsplash, tilework, flooring, and cabinetry are all pieces that need to strike a balance between form and function. Still, it’s your space! It should reflect you and your tastes.
When choosing materials, though, there are a few core concepts to keep in mind:
- Countertops are usually the single biggest source of colour and texture in a kitchen. As such, they tend to dictate the tone for the rest of the space. Generally, you’ll want to stick to a single material, but you could also potentially include some variation for the pantry or for an island.
- Cabinetry will often dictate the main material for the space. It’s at eye level, so it’s typically one of the first things that pop out to visitors. Simple, natural materials are your best bet, and light-coloured cabinets can help keep a room feeling bright and open. Other materials and tones can add depth.
- Finally, the finishing touches pull a space together. Dark countertops pair wonderfully with a lighter tone for the backsplash, for example. Visually “busy” things, such as complex tilework, should always be countered with neutral elements to avoid overwhelming the eye.
So Much More Than a Kitchen
As we’ve touched on numerous times throughout this blog, kitchen design is so much more than creating a comfortable, practical space to prepare food.
The kitchen is at the heart of the home, a place where families recharge, come together, and share with each other. It’s increasingly a social space, but one with an intimacy that simply makes a house a home. And really, that’s what it’s all about: you’re not designing a kitchen, but creating a home you can enjoy for years to come.
Trust in Expert Custom Home Builders:
Work With Contractors
Working with Experienced Professionals Gets the Best Results for Your Custom Home
You’ve probably heard a few horror stories about unreliable general contractors. Unfortunately, there are plenty of good people who’ve had bad experiences working with so-called “experts.” The good news is that most custom home builders aren’t cut from this cloth and share a passion for helping their clients bring their vision to life.
Ask anyone on the Sunter Homes team, and you’ll quickly learn that the contractor community is incredibly supportive and strives to go above and beyond for their clients. We all share a passion for this work, after all, and we love helping our clients make their home their own.
If you’re still cautious about contractors, consider the alternative: the DIY route. Even if you’re pretty handy on your own, and have completed a few renovations in the past, you’re probably not ready to try to build your own house.
Do You Need to Work with Contractors?
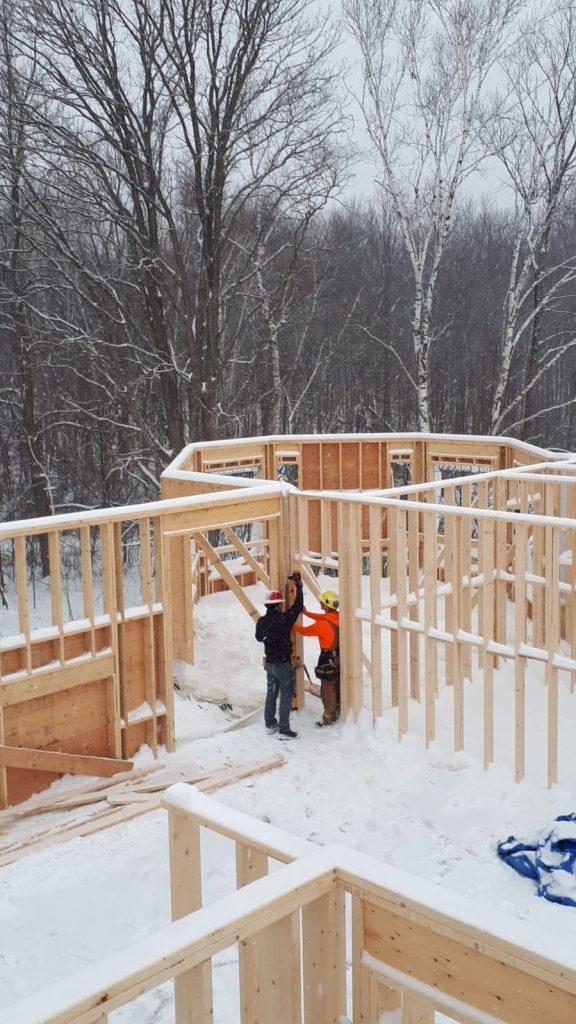
As tempting as it is to handle construction on your own, yes, you should absolutely work with contractors to build your own house.
There are plenty of reasons why you should hire experienced custom home builders for this, but really, they all boil down to the fact that these people do this professionally. At the end of the day, unless you’re a contractor yourself, it’s a lot to handle, even if you’ve got renovating and woodworking experience.
For example, even if you’re comfortable working with bathroom plumbing or laying tiles, there’s a lot more work that needs to go into a home. Insulation, foundations, wiring for lighting, and space for furnaces and plumbing… at some point, you’re going to need a helping hand.
If you’re simply looking for a more hands-on experience and want to get involved, most contractors should be able to accommodate that. But consider how large-scale a home is. Let the pros handle it!
Working With Pros for Renovations
This is where the DIY approach becomes a bit more viable.
Of course, you may still need to hire contractors for certain jobs, such as electrical wiring or HVAC installation. In these cases, it’s worth it.
Finding Contractors That “Get It”
So you’re ready to work with contractors, but don’t quite know where to start.
You’re going to have to do a bit of research. This includes browsing the Internet, looking for contractors whose work you admire (check out their portfolios online), and reaching out via email or phone to get a conversation started.
Of course, one of the best ways to find contractors who are genuinely great to work with is to ask around. If you know friends or family nearby who’ve had a good experience, ask if they’d make an introduction or recommendation. If this isn’t an option, turn to online reviews! These are fantastic ways to check out a contractor’s reputation. You’re getting genuine, honest opinions from people who’ve worked with them.
Look for examples of work you really enjoy and check out what contractors have to say about their work. Explore the team pages on their website to get a sense of their skills and passions, and find the people who “get” your vision. This will mean reaching out and getting in touch, though, which brings us to the next step.
Once you’ve found a few contractors you think would be a good fit, get in touch, and get your questions ready. This is, quite literally, their job interview, so it’s the best time to get as much information as you can.
Questions to Ask Potential Contractors
What are your qualifications?
This is the big one. You don’t need to be this up front, of course; ask them how long they’ve been in business, how they got started, how their company operates, and about past work. Their qualifications should also include memberships in professional organizations, licenses for their staff, and a few details about insurance and liability. Memberships in regulated professional associations and organizations is a good sign that your contractor is reputable and reliable.
What services do you offer?
When you’re interviewing potential contractors, ask them about their services. You may be surprised at some of the work they include as part of their services; for example, at Sunter Homes, we work with award-winning designers but are equally comfortable if you bring your own design.

We also have plenty of experience with custom carpentry. Other contractors have other strengths and areas of focus, even if you’re “just” looking for someone to build your home. This can also help identify red flags—for example, they do basements and living rooms but have never done a kitchen.
Could I talk to some of your past clients?
Closely related to browsing their portfolio, asking about past clients should be a positive experience. You’re looking for more information about happy clients, and most contractors will jump at the opportunity to show you more of their work and have happy clients speak highly about them. You could even ask to visit a current project to get a sense of their work process and abilities. You’re basically checking their references at this point and doing your due diligence before you entrust your home with a stranger.
What is your ballpark estimate for this project?
Your contractors should be comfortable enough to offer a rough estimate of costs with a project based on initial meetings. Keep in mind this is only a rough estimate; if you want something more concrete, it’s best to get it in writing as part of the quoting process, which may have a fee attached.
Will we get a written contract?
A written contract will set out the agreement between you and your contractors. It will include the agreed-upon prices and costs discussed with your contractor during their quoting process. If a contractor answers NO to this question, walk away. Without a contract, you have no proof you and your contractor agreed to anything, and you should not let anyone proceed with work on your home.
Do you offer a warranty?
Reputable and reliable contractors provide warranties. For example, Sunter Homes offers a two-year warranty on all our work. We offer a complimentary inspection and follow-up 30 days after we’ve finished work on your space, and another at the 1-year anniversary of completion. Renovators and home builders should stand behind their work, and if they’re not willing to deliver on the quality you expect, you should look elsewhere.
Of course, once you’ve got the information you need, the biggest question is, “When can you get started?”

Developing a Good Working Relationship
The key to a truly beneficial relationship with your contractor is communication.
This doesn’t mean you should hover over them at the job site, call them non-stop to second-guess their work, or otherwise pick apart decisions and details. You’re not paying to be a jerk, after all.
It does mean that you should establish boundaries and protocols for any potential issues that may arise. For example, before calling your contractor at 10 o’clock at night when they’re off the clock and spending time with their family, establish some agreed-upon times that you can reach out with questions or comments.
This goes both ways: you might not want to be interrupted during your day at work unless it’s a major emergency. You’ll also likely want some contingencies or secondary contacts who can answer questions on your behalf (your partner or spouse, most likely) and someone you can reach out to if your lead contractor is busy.
At Sunter Homes, we definitely get how important it is for our clients to visit the job site and see progress. We also work hard to stay accountable to our clients and try and schedule regular meetings to keep you apprised of your home’s development. In fact, in our experience, you’ll likely be calling us less often than we call you! Your satisfaction is always our primary concern.
Bringing Your Vision For Your Home to Life
Finding a reliable contractor or custom home builder isn’t as challenging as the scary stories might have you believe. Most contractors will work to support your vision and help you bring it to life, but it’s important to remember that the process is a two-way street.
Developing an effective working relationship starts with asking questions and setting expectations. With a bit of planning, research, and careful consideration, you can find a stellar contractor to build your house to your exact specifications. Plus, you’ll find one who’ll make the process as smooth and stress-free as possible, ensuring your every need is met and that you’re left with an amazing home that’ll stand the test of time.
Home Office Renovations for Remote Professionals
Creating a Space That Meets Your Needs and Helps Improve Your Productivity
More and more people are turning to remote work as an alternative to the usual 9 to 5 grind. Better internet access, flexible schedules, and tax incentives make remote work possible, and in many cases preferable, when compared to the standard office setup.
As a result, the home office is more popular than ever, with remote professionals determined to create a space that helps maximize their productivity.
Of course, this has created more than a few bad habits, make-do solutions, and uncomfortable workspaces.
A home office should be comfortable and encourage your productivity and creativity. What better way to create a space tailor-made for your needs than with a fully renovated home office?
Why is a Home Office So Important?
Imagine this:
You’ve gotten yourself all set up for remote work at home. Your laptop is ready to go, you’ve got a hot cup of coffee waiting, and you sit down on your couch to get some work done.
Hold up!
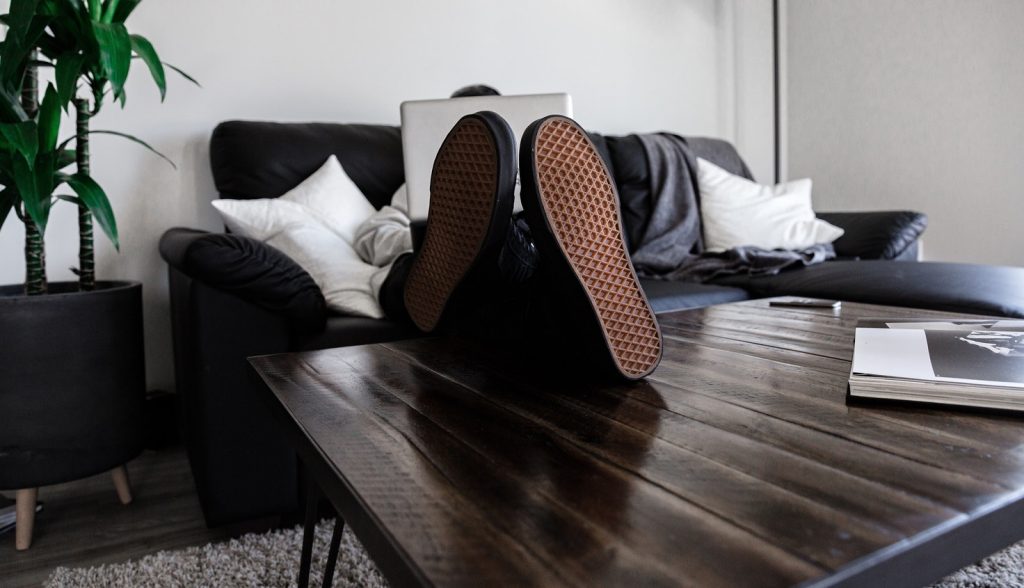
The comfiest couch is eventually going to make you want to lie down or stand up to give your back a break. Sitting in front of the TV is a recipe for distraction. Besides discomfort, eventually, the line between work and leisure will blur so much that you won’t get anything done.
There’s something to be said about treating work—even work at home—like a trip to the office.
Beyond the obvious and immediate benefits, renovating your home office to maximize productivity can do wonders for your mental health, helping you handle the stresses of the day and stay organized from start to finish.
Investing in home office renovations can help you create a space that works for you. Working with the expert, award-winning team at Sunter Homes can help you plan your dream space and make it a reality.
Planning Your Home Office
We’re so often conditioned to think an office needs to be a desk and four walls, but you’re actually able to get extremely creative with this space! Start with a simple evaluation of your prospective office space. What are you working with? Can you add square footage by taking down a wall? What design features should it include?
There are a few key considerations that will help define your home office:
- Comfortable Workstations
- Good Lighting
- Smart Layout
Workstations should offer you a place to focus, free of distractions and clutter. At the same time, you need access to those items that help you get your work done, which means a variety of easy-access storage options.
Floating desks offer a visually stunning workstation solution, but you can also create a nook set below a window that will fit a desk perfectly. Alternatively, if you like to move around while you work, or need a larger space, you can set up a drafting table in the centre of the room.
This would provide more space for smaller, stationary work surfaces elsewhere in your office. Remember, the layout needs to be conducive to your workflow! Think about your work needs and determine the best setup for your situation.
Creating Productive Spaces Tailored to Your Needs
Let’s get this out of the way right off the bat: the layout you’ve envisioned might not work with the space as-is. That’s why you’re renovating!
That spare room in your home might have a good basic setup, but a few careful renovations can improve the location of electric outlets, phone lines, and more. You can add much-needed natural sources of lighting, creating a window or skylight to give you a view when your eyes need to take a break.
Custom shelving and cabinetry let you tailor your space to your needs. For example, hiding your printer in a unique cabinet could allow you to pull it out when needed, and stow it away to save desktop space. Working with experienced contractors and carpenters is a great opportunity to create these one-of-a-kind storage solutions.
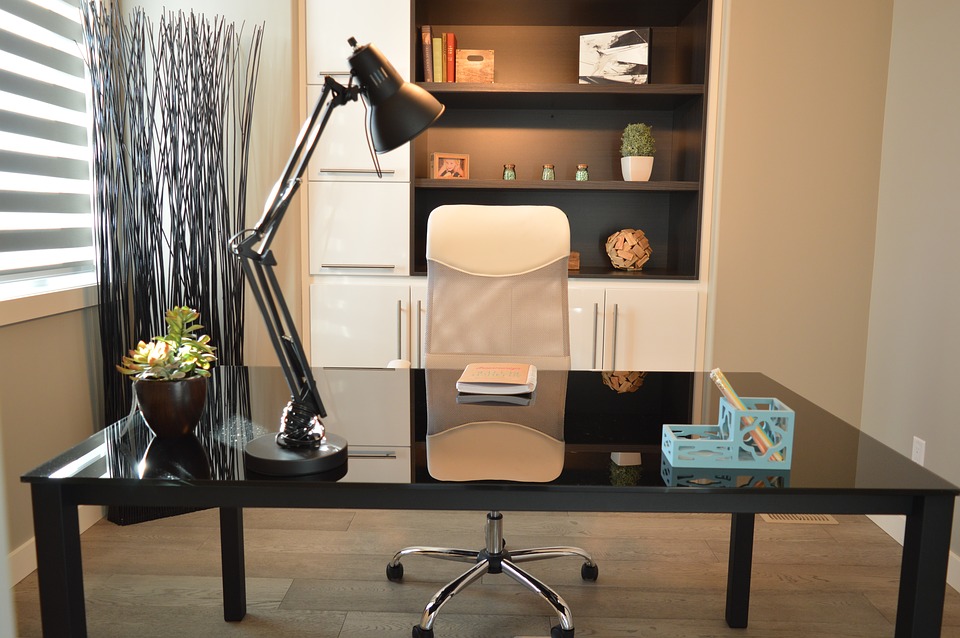
Renovating your home office also gives you the opportunity to soundproof the space, giving you a bit more privacy from the rest of your home. As we mentioned earlier, creating a work-first mindset can help you focus and prevent your home life from affecting your work ethic and vice-versa.
Tips for Organizing Your Home Office
Setting up your home office means maintaining some space for circulation around furniture, giving you access to move freely as needed. It can take a bit of thought but determining how you’re likely to move around your space will help you find a layout that’s both comfortable and functional.
If you’re setting up multiple screens in your office, such as a TV in addition to your main work monitor, you might want to consider your eyeline at your desk. Setting up a TV that you can easily watch from your desk is a recipe for distraction, after all!
Remember, beyond functionality, your home office needs to be a relaxing, comfortable environment. If you ever have business prospects or colleagues over for a meeting, you should consider additional seating and a few simple décor items.
Never, ever underestimate the importance of good lighting. Even with a skylight, you should still have plenty of lighting options available to help save you from eye strain. Whether you opt for free-standing lamps or recessed pot lights, make sure you can see what you’re doing at your desk at all times.
Your Home Office is Your Base of Operations
No matter what approach you take for designing your home office, it can’t be overstated that the space in which you work can have an effect in the quality of your work. When there’s a home for everything, and you can reduce clutter and wasted space, you’ll quickly find that this peace is reflected in your day-to-day work.
When you don’t have to think twice about where something goes, you can better focus on the tasks at hand. Designing the home office of your dreams can help you get the job done without pulling your hair out.
Surviving Kitchen Renovations
Tips to Help You Live Through Kitchen Renovations
As exciting as they can be, kitchen renovations present a few challenges that often get swept under the rug. No, we’re not talking about issues you might find once you open up a wall or the challenge of altering a kitchen design you’re not totally happy with.
We’re talking about something much more basic: the fact that you won’t have a full kitchen until your renovations are finished.
When work begins, you’re likely to wander into your kitchen half-asleep, looking for your morning cup of coffee only to realize your kitchen isn’t really a kitchen anymore.
ht
Beyond the kitchen design process and physical impacts of construction, renovating a kitchen means you’re going to have to take some time to plan out a temporary solution to keep your family fed.
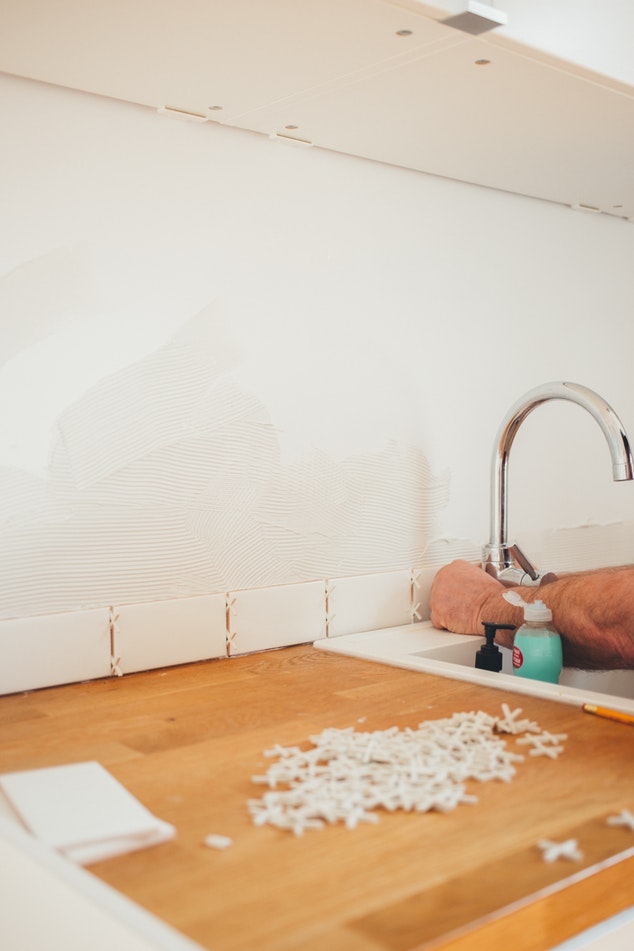
How Long Do Kitchen Renovations Take?
If you don’t count the planning and design phase, kitchen renovations typically last anywhere from four to eight weeks.
Of course, this varies based on the scope of the project. It’s not unheard of for larger projects to take up to three months or more. That ignores any setbacks you might encounter along the way, too.
From start to finish, if you include the design process and the time it takes to source and purchase materials, your entire project could be a 12-week process.
With up to half of that time covering actual renovation and construction work, that means you could be without a fully functional kitchen for six weeks or more.
What’s more, at the end of the day, kitchen renovation costs depend on your budget, materials, and contractors.
Your kitchen design contractors will give you estimates for the project. A good rule of thumb is to add 20 percent to the estimated cost to account for unexpected costs that could arise during the renovation.
It’s better to have that cushion in your budget than risk going too far over budget.
How Renovations Affect Your Day-to-Day Life
Renovations are noisy and messy. Your contractors will do their very best to minimize the impact on your life and keep things as tidy as possible, but the fact of the matter is that it’s a messy job. Once work begins, your kitchen will be out of commission until the job is complete. As such, you’ll have to find another place to prepare meals.
This might not seem like a big issue at first but consider just how much use your kitchen gets during a single day. It’s the heart of the home, and you likely spend far more time there than you might be aware of.
Temporary kitchens or food-prep areas are vital if you plan on staying in your home during the renovation process! Otherwise, you might be eating out a fair amount, which adds up quickly.
Setting Up A Temporary Kitchen
A temporary kitchen elsewhere in your home can save you from the added costs of eating out night after night. While it’s tempting, the actual cost of eating out so often might put a serious dent in your savings if you’re doing it every day for the full six weeks of construction.
If you can set up a temporary kitchen in your home, it’s going to offer a lot more flexibility. If your dining room includes a convenient sideboard, it’s a perfect place to set up. You can include a few handy appliances, store food items, and set up a small dishwashing station.
Make sure to include a trusty trashcan with a lid, a dishwashing tub, soap, brushes, and a few dish towels. If you can, get a small drying rack, too. Alternatively, invest in some compostable dinnerware that you can use a few times before chucking. It’ll cut down on your dishes without creating more pollution.
There are plenty of handy appliances to include, too:
- Coffeemaker
- Electric kettle
- Microwave
- Mini fridge
- Toaster or toaster oven
- Portable electric grill
- Electric frying pan
- Slow cooker
Don’t overlook the flexibility offered by a barbecue! Keep your propane tanks topped up and fire up the grill to cook a quick meal outdoors. This is even an option during milder winter weather if you’re pressed to cook a meal up.

Easy Meals
Avoid cooking messy meals that require plenty of cleanup. You probably don’t want to wash off thick pancake batter or grease from dishes in your beautiful bathroom sink.
Meals that are ideal for a makeshift kitchen include:
- Foods you can toast indoors
- Grill-friendly foods
- Foods you can microwave
- Soup
- Sandwiches
- Cereal
Leave out vital meal prep items, like cutting boards, cutlery, dishes, pots, and pans. You don’t need a full set of kitchenware, but the basics will keep you going until you get your kitchen back.
Tips for Minimizing Renovation Impact
Prepare for Noise and Dust
Renovations are noisy and messy. If you leave for work every day, you won’t have to endure this disruption as much. But if you work from home, or you’re retired, plan to spend more time out of the house.
To protect your floors and furniture from construction mess, contractors will usually lay down drop cloths and carpets along the path they’ll be using in your home. Keep a few drop cloths of your own on hand just in case. Also, keep your pets out of the way of contractors.
Prep Meals Ahead of Time
If you’ll have access to a freezer during your renovations, cook meals and freeze these in microwave-safe containers before the renovations start. This will make eating lunch and dinner a whole lot easier.
Alternatively, if you have a slow cooker, set it up early in the day in your temporary kitchen and get a delicious meal when you come home. The only downside is that the smell of cooking food might mean a few hungry contractors will want to join you for dinner!

Get Your Grill On
Even in the middle of winter, you can use an outdoor grill to cook dinner. You can also use your pots and pans on the grill. Just rub a bar of soap on the bottom and sides to wash off any soot.
Look up grilling recipes online to discover new tasty meals while your kitchen is under construction.
Set Up a Dining Table
If you normally eat meals in your kitchen, you’ll want to use a table elsewhere to dine on. This could be a patio table in your backyard, a drop-leaf table, or a card table.
As tempting as it might be to eat at your coffee table, you’ll regret this decision if you spill food on your couch or carpet.
Designate One Room as a Construction Free-Zone
Choose a comfortable room in your house that is off limits to anything renovation-related. Ideally, this room will not be next to your kitchen. But if it is, make sure everyone involved in the renovation project knows this room can’t be used for walking through or storing construction supplies.
If you have a room you can escape to and unwind in during the renovations, you’ll be able to reduce your stress and make it through the renovations with your sanity intact.
While kitchen renovations can disrupt your daily routine for a while, you can get through this time with careful planning beforehand. And this temporary disruption will be worth it when you can start using your new dream kitchen.
